首页 / 更多教程 / AI视频数字识别、分割(上)
AI视频数字识别、分割(上)
内容导读
互联网集市收集整理的这篇技术教程文章主要介绍了AI视频数字识别、分割(上),小编现在分享给大家,供广大互联网技能从业者学习和参考。文章包含5138字,纯文字阅读大概需要8分钟。
内容图文
")
任务描述:
根据视频中的数字的变化切割视频(国网需求);
夜晚热红外视频帧:
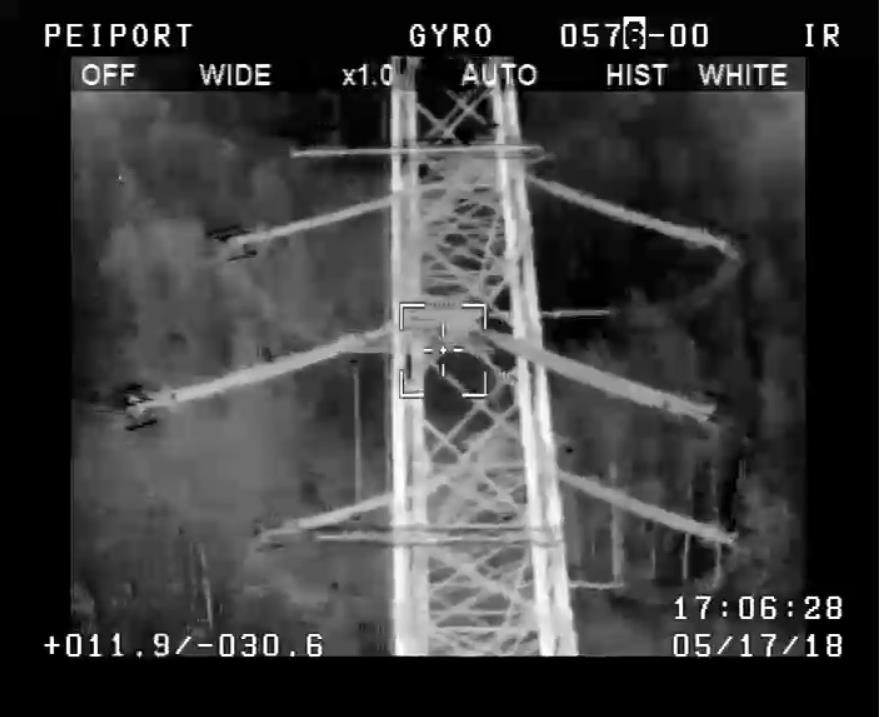
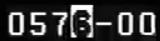
根据右上角机位数字分割视频
思路:
- 视频分帧
- aoi区域裁剪
- 字符分割
- 神经网络模型训练
- 字符识别
- 断点确定
- 分割视频
一、视频分帧
# Step1:视频读取、分帧
# 1.保存视频每一秒的图面
def save_image(image, addr, num):
    address = addr + str(num) + '.jpg'
    cv2.imencode('.jpg', image)[1].tofile(address)
    # cv2.imwrite(address, image)


# 2.视频分帧
def video_clip(src_path, save_path):
    # 读取视频
    video_capture = cv2.VideoCapture(src_path)
    # 读帧
    success, frame = video_capture.read()
    # 设置固定帧率(查看视频属性)
    timeF = 25
    i = 0
    j = 0
    while success:
        i = i + 1
        if (i % timeF == 0):
            j = j + 1
            save_image(frame, save_path, j)
        success, frame = video_capture.read()
    print("================视频分帧完成!===================")
输出:

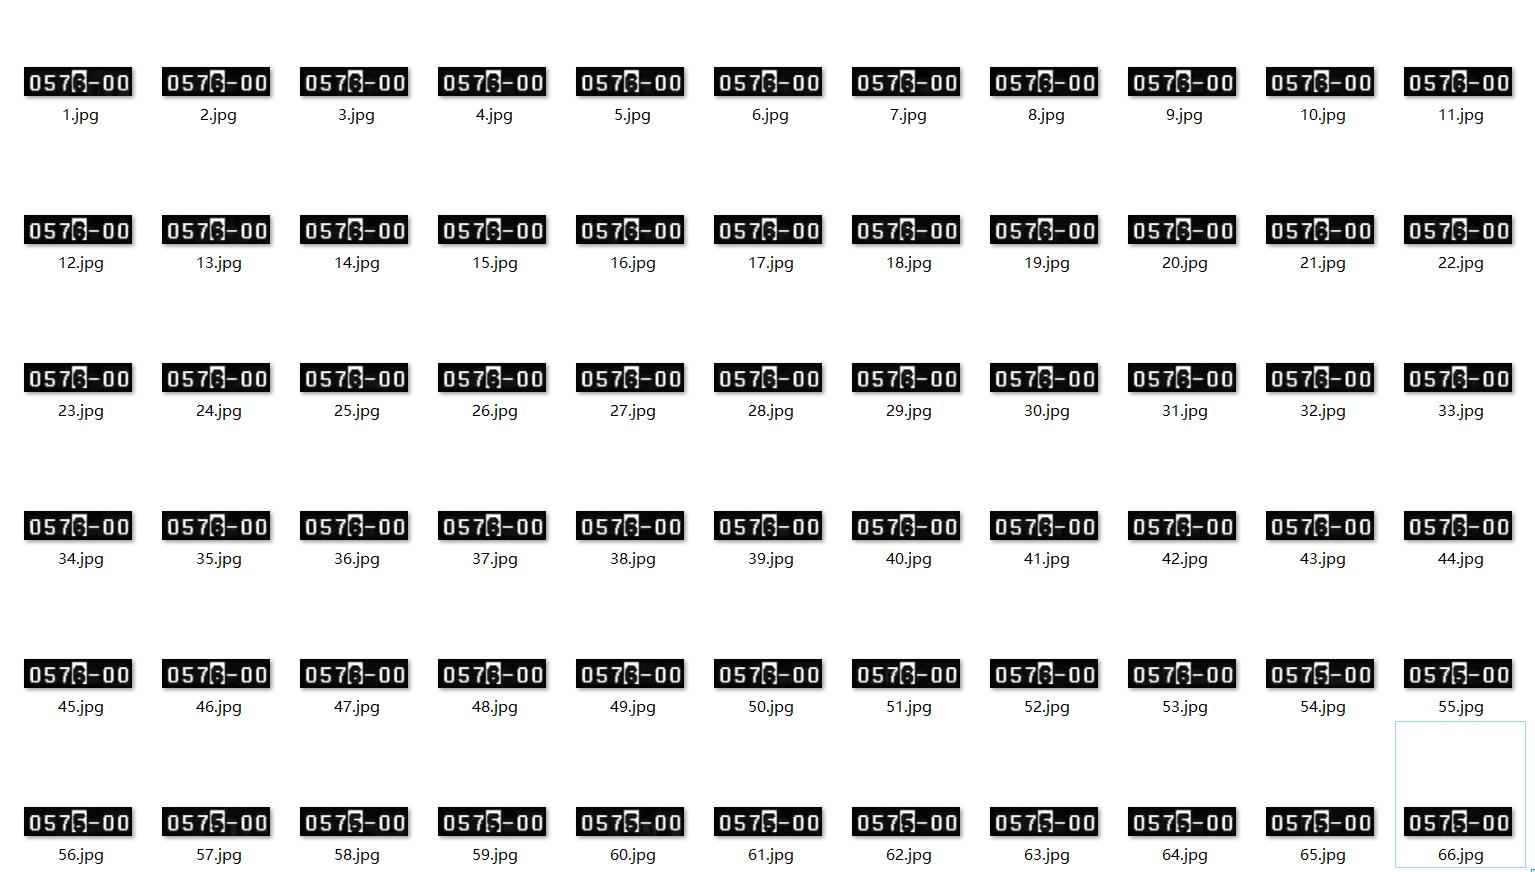
二、aoi区域裁剪
# Step2:AOI切割
# 1.选择裁剪区域
def select_point(frame_path):
    frame_img = Image.open(frame_path + '1.jpg')
    plt.imshow(frame_img, cmap=plt.get_cmap("gray"))
    aoi_points = plt.ginput(4)     # 选4个点(左上,右上,左下,右下)
    return aoi_points


# 2.获取四至坐标
def get_bound(aoi_pts):
    x_arr = []
    y_arr = []
    for pt in aoi_pts:
        x_arr.append(int(pt[0]))
        y_arr.append(int(pt[1]))
    return min(x_arr), max(x_arr), min(y_arr), max(y_arr)


# 3.批量裁剪
def clip_frame_img(frame_path, aoi_path):
    # 获取裁剪范围
    aoi_pts = select_point(frame_path)
    x_min, x_max, y_min, y_max = get_bound(aoi_pts)
    # 裁剪
    frame_name = os.listdir(frame_path)
    print("正在进行aoi区域裁剪,请稍候...")
    for frame in frame_name:
        frame_full_path = os.path.join(frame_path, frame)
        frame_image = cv2.imdecode(np.fromfile(frame_full_path, dtype=np.uint8), -1)
        aoi_image = frame_image[y_min:y_max, x_min:x_max]
        cv2.imencode('.jpg', aoi_image)[1].tofile(aoi_path + frame)
    print("================aoi区域裁剪完成!===================")


 # 没跳出裁剪窗口?
 # pycharm设置问题,修改下配置:
 # windows系统:Settings | Tools | Python Scientific | Show Plots in Toolwindow,去掉对勾
 # MAC系统:Preferences | Tools | Python Scientific | Show Plots in Toolwindow,去掉对勾
输出:
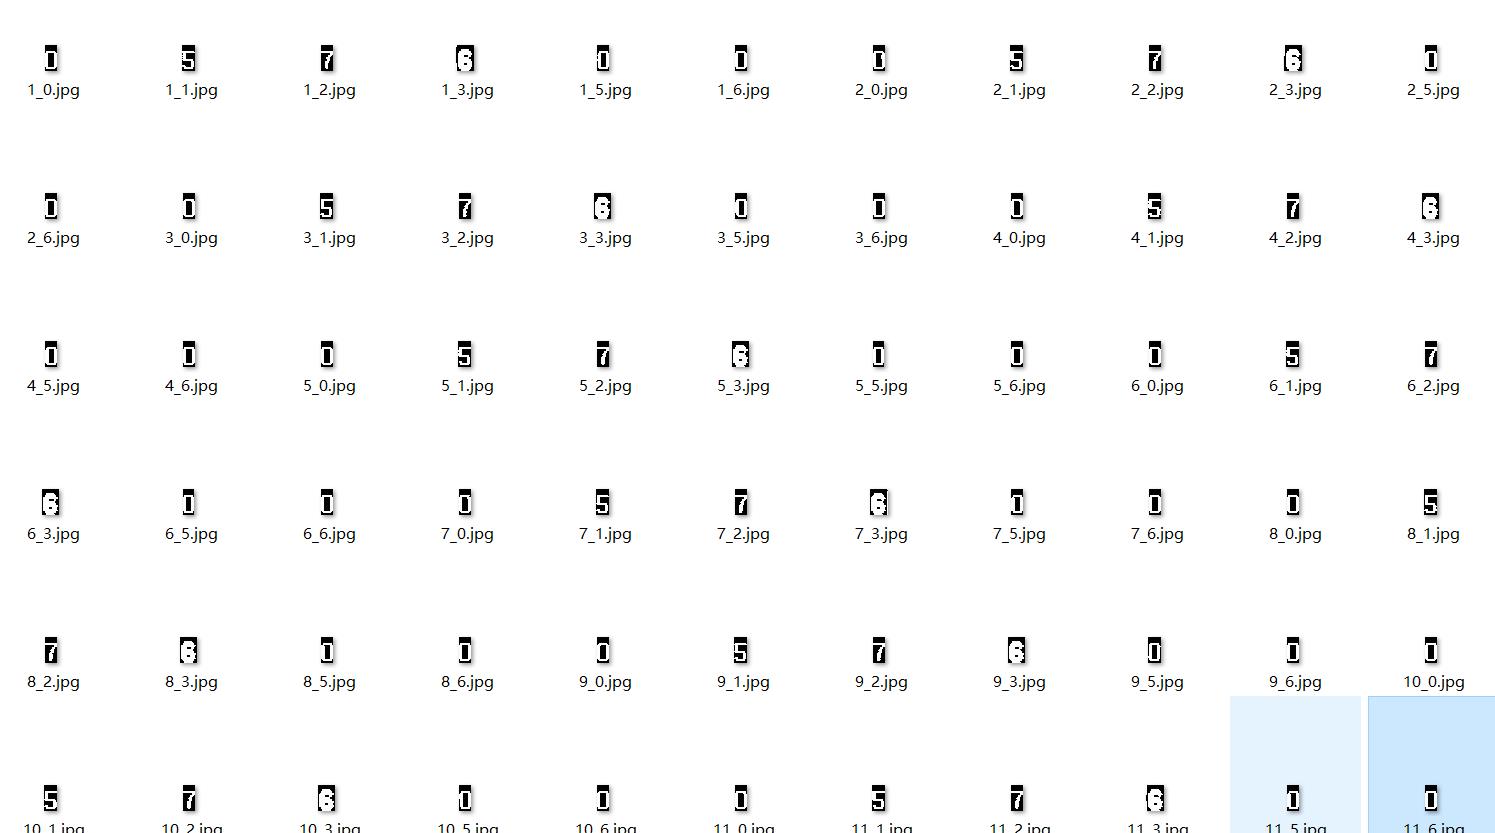
三、字符分割
参照:https://www.cnblogs.com/zxy-joy/p/10687152.html
# Step3:字符分割
# 水平投影
def horizon_prj(image):
    h_prj = np.zeros(image.shape, np.uint8)
    # 图像高与宽
    (h, w) = image.shape
    # 长度与图像高度一致的数组
    h_ = [0] * h
    # 循环统计每一行黑色像素的个数(image[y, x] == 255是白色)
    for y in range(h):
        for x in range(w):
            if image[y, x] == 0:
                h_[y] += 1
    # 绘制水平投影图像
    for y in range(h):
        for x in range(h_[y]):
            h_prj[y, x] = 0
    return h_


# 垂直投影
def vetical_project(image):
    v_prj = np.zeros(image.shape, np.uint8)   # 创建空白图片
    (h, w) = image.shape
    # 长度与图像宽度一致的数组
    w_ = [0] * w
    # 循环统计每一列白色像素的个数
    for x in range(w):
        for y in range(h):
            if image[y, x] == 0:
                w_[x] += 1
    # 绘制垂直平投影图像
    for x in range(w):
        for y in range(h - w_[x], h):
            v_prj[y, x] = 0
    return w_


# aoi投影
def aoi_prj(aoi_image):
    aoi_b2_image = cv2.cvtColor(aoi_image, cv2.COLOR_BGR2GRAY)
    retval, img = cv2.threshold(aoi_b2_image, 127, 255, cv2.THRESH_BINARY_INV)
    h, w = img.shape
    position = []
    # 水平投影
    H = horizon_prj(img)
    h_start = 0
    H_Start = []
    H_End = []
    for i in range(len(H)):
        if H[i] > 0 and h_start == 0:
            H_Start.append(i)
            h_start = 1
        if H[i] <= 0 and h_start == 1:
            H_End.append(i)
            h_start = 0
    if len(H_End) == 0:
        H_End.append(h)
    # 分割行,分割之后再进行列分割并保存分割位置
    for i in range(len(H_Start)):
        # 获取行图像
        crop_img = img[H_Start[i]:H_End[i], 0:w]
        # 对行图像进行垂直投影
        W = vetical_project(crop_img)
        w_start = 0
        w_end = 0
        W_Start = 0
        W_End = 0
        for j in range(len(W)):
            if W[j] > 0 and w_start == 0:
                W_Start = j
                w_start = 1
                w_end = 0
            if W[j] <= 0 and w_start == 1:
                W_End = j
                w_start = 0
                w_end = 1
            if w_end == 1:
                position.append([W_Start, H_Start[i], W_End, H_End[i]])
                w_end = 0
    # 根据确定的位置分割字符
    # for m in range(len(position)):
    #     cv2.rectangle(aoi_image, (position[m][0], position[m][1]), (position[m][2], position[m][3]),
    #                   (0, 229, 238),
    #                   1)
    return position


# 字符分割(个人逻辑,仅供参考)
# 分割难免有误,或多或少
# 根据视频的连续性,多的去之,少的替之(以前后帧相替)
def character_split(aoi_path, character_path):
    aoi_name = os.listdir(aoi_path)
    all_aoi_positions = []
    for aoi in aoi_name:
        aoi_full_path = os.path.join(aoi_path, aoi)
        aoi_image = cv2.imdecode(np.fromfile(aoi_full_path, dtype=np.uint8), -1)
        aoi_positions = aoi_prj(aoi_image)
        i = 0
        if len(aoi_positions) == 7:
            all_aoi_positions.append(aoi_positions)
        elif len(aoi_positions) == 8:
            del (aoi_positions[0])
        else:
            if i == 0:
                print("第一个就有问题!")
            else:
                aoi_positions = all_aoi_positions[i - 1]
        l = 0
        for aoi_position in aoi_positions:
            crop_image = aoi_image[aoi_position[1]:aoi_position[3], aoi_position[0]:aoi_position[2]]
            crop_2image = np.where(crop_image[..., :] < 127, 0, 255)
            row_crop_2image = crop_2image[1, :]
            row_mean = row_crop_2image.mean(axis=1).tolist()
            if row_mean.count(255.0) > len(row_mean) * 2 / 3:
                crop_2image = np.where(crop_2image[..., :] == 0, 255, 0)
            # print(row_mean.count(255.0))
            # cv2.imencode('.jpg', crop_2image)[1].tofile(character_path + aoi.split('.')[0] + '_' + str(i) + '.jpg')
            if l != 4:
                cv2.imencode('.jpg', crop_2image)[1].tofile(
                    character_path + aoi.split('.')[0] + '_' + str(l) + '.jpg')
            l += 1
        i = i + 1
    print("================字符分割完成!===================")
输出:
内容有点多,其他的放下一波吧~
内容总结
以上是互联网集市为您收集整理的AI视频数字识别、分割(上)全部内容,希望文章能够帮你解决AI视频数字识别、分割(上)所遇到的程序开发问题。 如果觉得互联网集市技术教程内容还不错,欢迎将互联网集市网站推荐给程序员好友。
内容备注
版权声明:本文内容由互联网用户自发贡献,该文观点与技术仅代表作者本人。本站仅提供信息存储空间服务,不拥有所有权,不承担相关法律责任。如发现本站有涉嫌侵权/违法违规的内容, 请发送邮件至 gblab@vip.qq.com 举报,一经查实,本站将立刻删除。
内容手机端
扫描二维码推送至手机访问。
来源:【匿名】