CentOS7上安装并配置Nginx、PHP、MySql
内容导读
互联网集市收集整理的这篇技术教程文章主要介绍了CentOS7上安装并配置Nginx、PHP、MySql,小编现在分享给大家,供广大互联网技能从业者学习和参考。文章包含3125字,纯文字阅读大概需要5分钟。
内容图文
一、Nginx
1、安装nginx
yum install nginx
2、启动nginx
systemctl start nginx
除了systemctl start nginx之外,常用的相关命令还有systemctl stop nginx、systemctl restart nginx、systemctl status nginx
3、测试nginx是否安装成功
浏览器输入ip地址或者域名(已经解析过的域名),如下图所示,则安装成功。
4,配置Nginx支持PHP解析
编辑/etc/nginx/nginx.conf,蓝色字体处为新加内容
server {
listen 80 default_server;
listen [::]:80 default_server;
server_name _;
root /usr/share/nginx/html;
index index.php index.html index.htm;
# Load configuration files for the default server block.
include /etc/nginx/default.d/*.conf;
location / {
}
error_page 404 /404.html;
location = /40x.html {
}
error_page 500 502 503 504 /50x.html;
location = /50x.html {
}
location ~ .php$ {
try_files $uri =404;
root /usr/share/nginx/html;
fastcgi_pass 127.0.0.1:9000;
fastcgi_index index.php;
fastcgi_param SCRIPT_FILENAME $document_root$fastcgi_script_name;
include fastcgi.conf;
}
}
二、PHP
1,安装PHP
yum install php php-mysql php-fpm
安装过程中经常会见到如下问题:
2:postfix-2.10.1-6.el7.x86_64 有缺少的需求 libmysqlclient.so.18()(64bit)
2:postfix-2.10.1-6.el7.x86_64 有缺少的需求 libmysqlclient.so.18(libmysqlclient_18)(64bit)
解决方法:
把php-mysql换成php-mysqlnd
即执行
yum install php php-mysqlnd php-fpm
2、编辑PHP的配置文件,/etc/php.ini,注意去掉分号注释
vim /etc/php.ini
将 ;cgi.fix_pathinfo=1 改为 cgi.fix_pathinfo=0
3、编辑PHP-FPM配置文件
vim /etc/php-fpm.d/www.conf
将
user = nobody
group = nobody
改为
user = nginx
group = nginx
前提是已经创建了nginx用户和nginx组。如果没有创建方法:
1 groupadd -r nginx
2 useradd -r -g nginx nginx
4、启动PHP—FPM
systemctl start php-fpm
5、设置开机启动
systemctl enable php-fpm
6,确保Nginx配置文件修该之后,重启Nginx
systemctl restart nginx
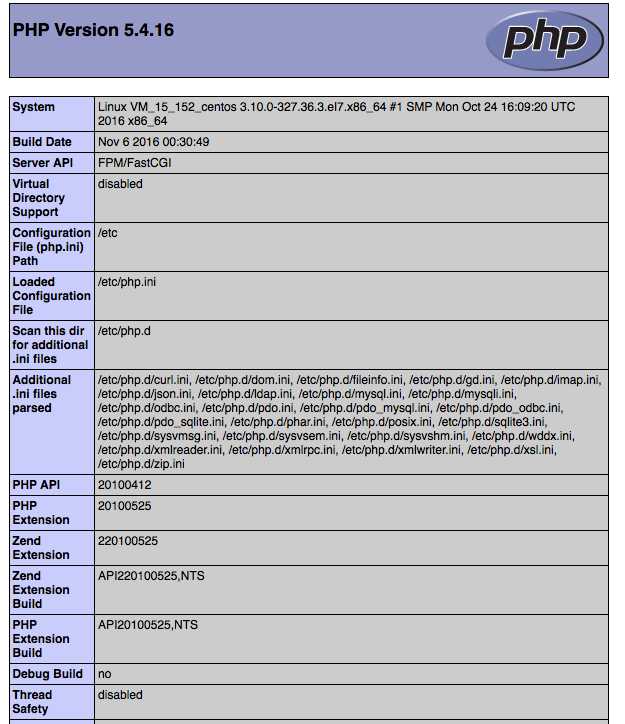
7、在/usr/share/nginx/html/目录下创建phpinfo.php
内容如下:
<?php phpinfo();?>
查看php进程:ps aux | grep php 查看端口占用:netstat -ano|grep 80
8、浏览器上输入ip/phpinfo.php,如果出现如下界面,说明PHP和Nginx均安装和配置成功。
三、MySql
CentOS 7的yum源中貌似没有正常安装mysql时的mysql-sever文件,需要去官网上下载
1、补充yum源(1)
wget http://dev.mysql.com/get/mysql-community-release-el7-5.noarch.rpm
2、补充yum源(2)
rpm -ivh mysql-community-release-el7-5.noarch.rpm
3、安装mysql
yum install mysql-community-server
4、成功安装之后重启mysql服务
systemctl start mysqld
初次安装mysql是root账户是没有密码的
设置密码的方法
1 mysql -uroot
2 mysql> set password for ‘root’@‘localhost’ = password(‘mypasswd‘);
3 mysql> exit
mysql -u root -p
输入密码之后,错误提示如下:ERROR 1045 (28000): Access denied for user ‘root‘@‘localhost‘ (using password: YES),意思是root的密码不正确。
解决办法如下:
a.sudo mysqld_safe --user=root --skip-grant-tables --skip-networking &
输入命令之后,如果提示信息为:
mysqld_safe A mysqld process already exists
表示mysqld_safe进程存在,可以通过
ps -A|grep mysql 查看mysqld_safe进程ID
kill -9 -xxxx 终结ID为xxxx的进程
nginx安装完成后,修改nginx配置文件为,nginx.conf
其中server段增加如下配置,注意标红内容配置,否则会出现No input file specified.错误
# pass the PHP scripts to FastCGI server listening on 127.0.0.1:9000
#
location ~ .php$ {
root html;
fastcgi_pass 127.0.0.1:9000;
fastcgi_index index.php;
fastcgi_param SCRIPT_FILENAME $document_root$fastcgi_script_name;
include fastcgi_params;
}
当时就是默认nginx里的配置与上面的红色有些出入,导致不能正常解析php文件。请注意红色加粗的部份。
原文:https://www.cnblogs.com/rickzhai/p/9349901.html
内容总结
以上是互联网集市为您收集整理的CentOS7上安装并配置Nginx、PHP、MySql全部内容,希望文章能够帮你解决CentOS7上安装并配置Nginx、PHP、MySql所遇到的程序开发问题。 如果觉得互联网集市技术教程内容还不错,欢迎将互联网集市网站推荐给程序员好友。
内容备注
版权声明:本文内容由互联网用户自发贡献,该文观点与技术仅代表作者本人。本站仅提供信息存储空间服务,不拥有所有权,不承担相关法律责任。如发现本站有涉嫌侵权/违法违规的内容, 请发送邮件至 gblab@vip.qq.com 举报,一经查实,本站将立刻删除。
内容手机端
扫描二维码推送至手机访问。