Vue 动态组件components和v-once指令的实现
内容导读
互联网集市收集整理的这篇技术教程文章主要介绍了Vue 动态组件components和v-once指令的实现,小编现在分享给大家,供广大互联网技能从业者学习和参考。文章包含1783字,纯文字阅读大概需要3分钟。
内容图文

一、实现两个组件间互相展示、互相隐藏
<!DOCTYPE html>
<html>
<head>
  <title>动态组件</title>
  <script type="text/javascript" src="./vue-dev.js"></script>
</head>
<body>
  <div id="app">
    <child-one v-if="type=='child-one'" content="child-one"></child-one>
    <child-two v-if="type=='child-two'" content="child-two"></child-two>
    <button @click="handleChangeEvent">change</button>
  </div>
  <script type="text/javascript">
  Vue.component('child-one', {
    props: ["content"],
    template: `<div>{{content}}</div>`,
  });

   Vue.component('child-two', {
    props: ["content"],
    template: `<div>{{content}}</div>`,
  })

  var vm = new Vue({
    el: '#app',
    data(){
    	return{
    		type:'child-one'
    	}
    },
    methods:{
    	handleChangeEvent:function(){
    		this.type= this.type=="child-one" ? 'child-two':'child-one';
    	}
    }

  })
  </script>
</body>
</html>
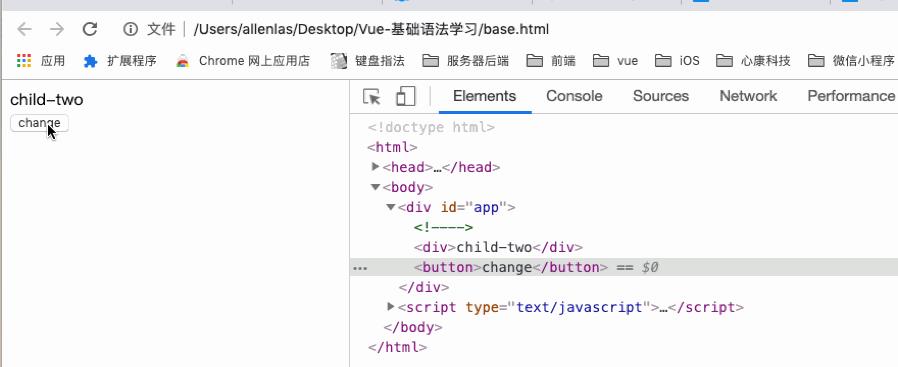
页面效果图如下:
二、动态组件,简化页面代码
使用:父组件 dom标签使用 ,对组件名称进行绑定
 <div id="app">
    <!-- <child-one v-if="type=='child-one'" content="child-one"></child-one>
    <child-two v-if="type=='child-two'" content="child-two"></child-two> -->

     <!--动态组件标签component 利用is接收指定标签组件-->
    <component :is="type" :content="type"></component>
    <button @click="handleChangeEvent">change</button>
  </div>
无论使用v-if还是components来使用动态组件的实现,都是在点击交互后,每一次页面效果的切换,会自动销毁前一个组件,再重新创建一个组件,页面则显示响应的内容, 这样的实现方式是比较消耗性能的
三、 v-show和v-once
使用v-show,则会只是隐藏在dom元素中,组件都会被创建。
在子组件中,加入v-once,当每次切换组件效果时,不再需要每次都经过创建-销毁的过程,而是在内存中直接取用上一次使用过的组件的内容
 Vue.component('child-one',{
    template:'<div v-once>child-one</div>'
  })

  Vue.component('child-two',{
    template:'<div v-once>child-two</div>'
  })
使用v-once,可以有效提高静态内容的展示效率,提高性能
以上就是本文的全部内容,希望对大家的学习有所帮助,也希望大家多多支持脚本之家。
内容总结
以上是互联网集市为您收集整理的Vue 动态组件components和v-once指令的实现全部内容,希望文章能够帮你解决Vue 动态组件components和v-once指令的实现所遇到的程序开发问题。 如果觉得互联网集市技术教程内容还不错,欢迎将互联网集市网站推荐给程序员好友。
内容备注
版权声明:本文内容由互联网用户自发贡献,该文观点与技术仅代表作者本人。本站仅提供信息存储空间服务,不拥有所有权,不承担相关法律责任。如发现本站有涉嫌侵权/违法违规的内容, 请发送邮件至 gblab@vip.qq.com 举报,一经查实,本站将立刻删除。
内容手机端
扫描二维码推送至手机访问。