首页 / JAVASCRIPT / js实现下一页页码效果
js实现下一页页码效果
内容导读
互联网集市收集整理的这篇技术教程文章主要介绍了js实现下一页页码效果,小编现在分享给大家,供广大互联网技能从业者学习和参考。文章包含2459字,纯文字阅读大概需要4分钟。
内容图文

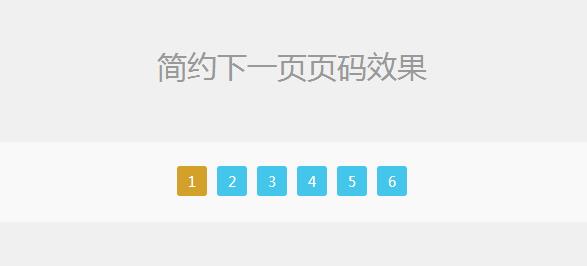
效果图:
代码如下:
<!DOCTYPE html>
<html>
 <head>
 <meta charset="utf-8" />
 <title></title>
 <style>
  *{
  margin: 0;
  padding: 0;
  }
  .scroll-tool{
  position: relative;
  height: 56px;
  padding: 12px 160px;
  background-color: #f9f9f9;
  }
  .st-con{
  font-size: 14px;
  line-height: 30px;
  text-align: center;
  padding: 12px 0;
  width: 680px;
  margin: 0 auto;
  overflow-y: hidden;
  overflow-x: auto;
  white-space: nowrap;
  }
  .st-con .img-page{
  font-size: 0;
  }
  a{
  text-decoration: none;
  }
  .st-con a.selected{
  background-color: #d3a12a;
  }
  .st-con a{
  font-size: 14px;
  display: inline-block;
  width: 30px;
  height: 30px;
  color: #fff;
  border-radius: 3px;
  background-color: #44c6ea;
  margin: 0 5px;
  }
  html,body{
  background: #f0f0f0;
  font: 14px/2 "微软雅黑";
  }
  header{
  width: 680px;
  height: 50px;
  margin: 50px auto;
  }
  header div{
  width: 100%;
  height: 50px;
  line-height: 50px;
  text-align: center;
  font-size: 30px;
  color: #999;
  }
 </style>
 </head>
 <body>
 <header>
  <div>
  简约下一页页码效果
  </div>
 </header>
 <div class="scroll-tool">
  <div class="st-con">
  <div class="img-page">
   <a href="javacript:void(0)" rel="external nofollow" rel="external nofollow" rel="external nofollow" rel="external nofollow" rel="external nofollow" rel="external nofollow" class="selected"><span>1</span></a>
   <a href="javacript:void(0)" rel="external nofollow" rel="external nofollow" rel="external nofollow" rel="external nofollow" rel="external nofollow" rel="external nofollow" ><span>2</span></a>
   <a href="javacript:void(0)" rel="external nofollow" rel="external nofollow" rel="external nofollow" rel="external nofollow" rel="external nofollow" rel="external nofollow" ><span>3</span></a>
   <a href="javacript:void(0)" rel="external nofollow" rel="external nofollow" rel="external nofollow" rel="external nofollow" rel="external nofollow" rel="external nofollow" ><span>4</span></a>
                    <a href="javacript:void(0)" rel="external nofollow" rel="external nofollow" rel="external nofollow" rel="external nofollow" rel="external nofollow" rel="external nofollow" ><span>5</span></a>
      <a href="javacript:void(0)" rel="external nofollow" rel="external nofollow" rel="external nofollow" rel="external nofollow" rel="external nofollow" rel="external nofollow" ><span>6</span></a>
  </div>
  </div>
 </div>
 <script src="https://code.jquery.com/jquery-1.12.4.min.js"></script>
 <script>
  $(function(){
  $('.img-page a').on('click',function(){
   $(this).addClass('selected').siblings('a').removeClass('selected');
  })
  })
 </script>
 </body>
</html>
以上就是本文的全部内容,希望本文的内容对大家的学习或者工作能带来一定的帮助,同时也希望多多支持脚本之家!
内容总结
以上是互联网集市为您收集整理的js实现下一页页码效果全部内容,希望文章能够帮你解决js实现下一页页码效果所遇到的程序开发问题。 如果觉得互联网集市技术教程内容还不错,欢迎将互联网集市网站推荐给程序员好友。
内容备注
版权声明:本文内容由互联网用户自发贡献,该文观点与技术仅代表作者本人。本站仅提供信息存储空间服务,不拥有所有权,不承担相关法律责任。如发现本站有涉嫌侵权/违法违规的内容, 请发送邮件至 gblab@vip.qq.com 举报,一经查实,本站将立刻删除。
内容手机端
扫描二维码推送至手机访问。
来源:【匿名】