Asp.net core WebApi 使用Swagger生成接口帮助文档
内容导读
互联网集市收集整理的这篇技术教程文章主要介绍了Asp.net core WebApi 使用Swagger生成接口帮助文档,小编现在分享给大家,供广大互联网技能从业者学习和参考。文章包含2178字,纯文字阅读大概需要4分钟。
内容图文

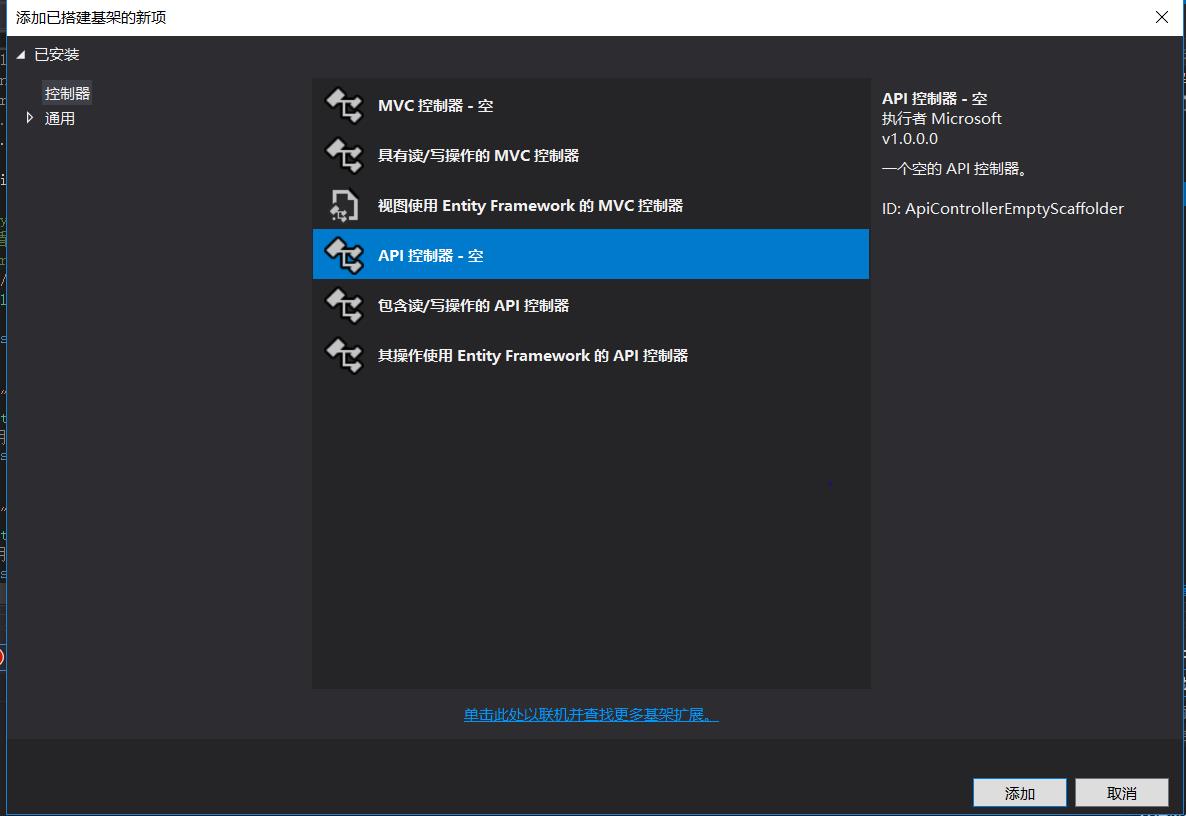
一.新建一个WebAPI接口,命名为First
测试代码:
using System;
using System.Collections.Generic;
using System.Linq;
using System.Threading.Tasks;
using Microsoft.AspNetCore.Http;
using Microsoft.AspNetCore.Mvc;

namespace MY.Controllers
{
    /// <summary>
    /// 严格遵循RestFull 风格 get、post、put、delete
    /// </summary>
    [Route("api/[controller]")]
    [ApiController] // First 当成一个资源  对完提供增删改查的Api
    public class FirstController : ControllerBase
    {

        [Route("Get")]
        [HttpGet]
        public string Get()
        {
            return "得到一串数据";
        }


        [Route("Info")]
        [HttpGet]
        public string Info()
        {
            return Newtonsoft.Json.JsonConvert.SerializeObject(new
            {
                Id = 1456,
                Name = "yhh"
            });
        }

        [Route("GetInfo")]
        [HttpGet]
        public string GetInfo(int id,string name)
        {
            return Newtonsoft.Json.JsonConvert.SerializeObject(new
            {
                Id = id,
                Name = name
            });
        }
    }
}
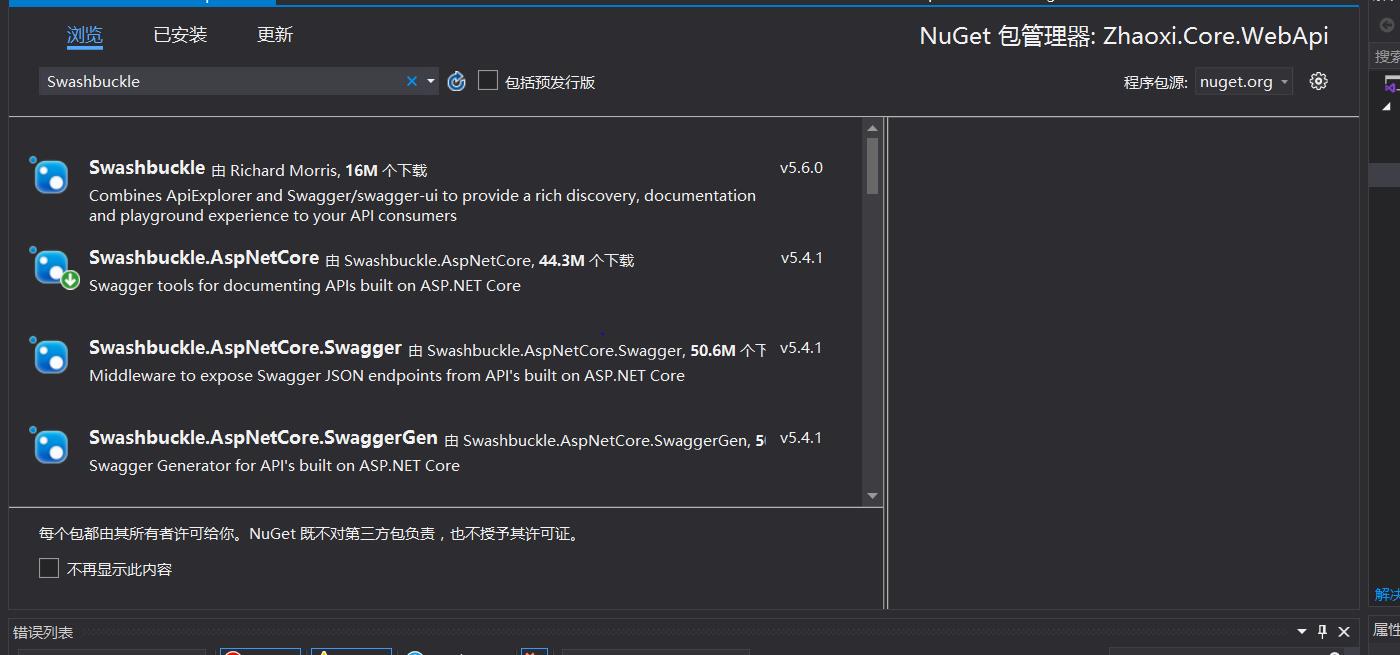
二.右键项目依赖项,点击管理Nuget程序包,安装如下图组件
三.在项目Startup添加配置项
  /// <summary>
    /// Core 项目中导出都是IOC + DI
    /// </summary>
    public class Startup
    {
        public Startup(IConfiguration configuration)
        {
            Configuration = configuration;
        }

        public IConfiguration Configuration { get; }


        /// <summary>
        /// 被运行时调用的  还有什么?
        /// 执行且只执行一次;
        /// </summary>
        /// <param name="services"></param>

        // This method gets called by the runtime. Use this method to add services to the container.
        public void ConfigureServices(IServiceCollection services)
        {
            #region 注册Swagger服务
            services.AddSwaggerGen(s =>
            {
                #region 注册 Swagger
                s.SwaggerDoc("V1", new OpenApiInfo()
                {
                    Title = "Study",
                    Version = "version-01",
                    Description = "webapi配置swagger学习"
                });
                #endregion
            });
            #endregion
            services.AddControllers();
        }

        // This method gets called by the runtime. Use this method to configure the HTTP request pipeline.
        public void Configure(IApplicationBuilder app, IWebHostEnvironment env)
        {
            if (env.IsDevelopment())
            {
                app.UseDeveloperExceptionPage();
            }
            #region 使用Swagger中间件
            app.UseSwagger();
            app.UseSwaggerUI(s =>
            {
                s.SwaggerEndpoint("/swagger/V1/swagger.json", "test1");
            });
            #endregion


            //使用中间件
            app.UseRouting();

            app.UseAuthorization();

            app.UseEndpoints(endpoints =>
            {
                endpoints.MapControllers();
            });
        }
    }
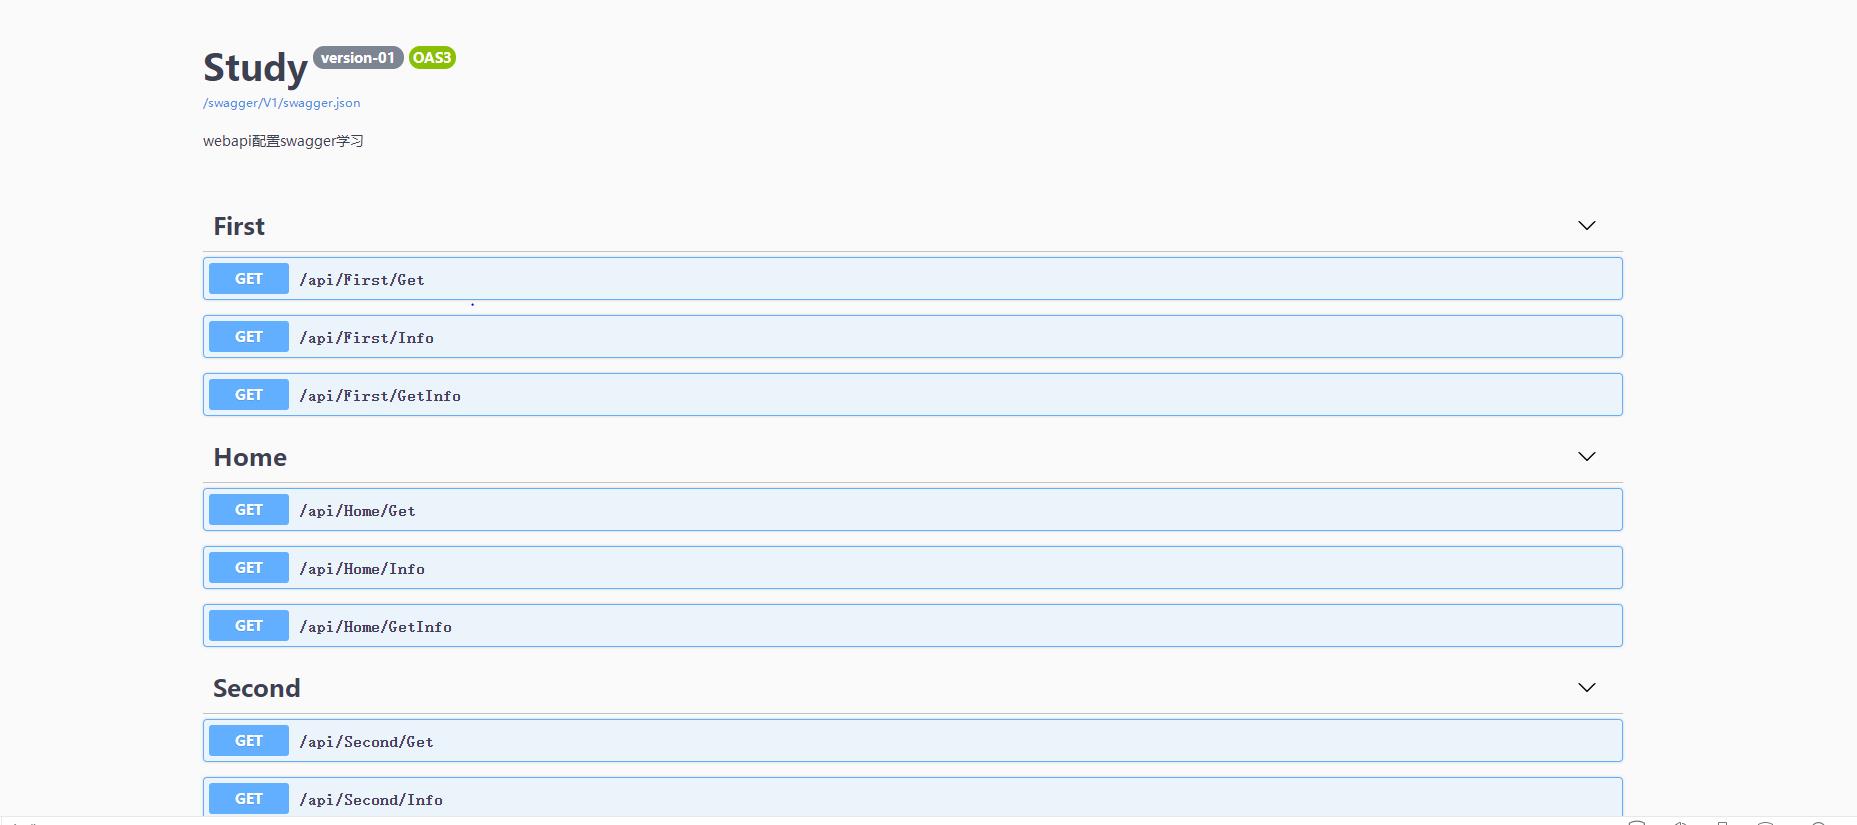
四.启动项目,然后浏览器输入 http://localhost:50786/swagger/index.html
五.配置失败者,可后台留言呢!本人如有空闲时间可帮助解决。
内容总结
以上是互联网集市为您收集整理的Asp.net core WebApi 使用Swagger生成接口帮助文档全部内容,希望文章能够帮你解决Asp.net core WebApi 使用Swagger生成接口帮助文档所遇到的程序开发问题。 如果觉得互联网集市技术教程内容还不错,欢迎将互联网集市网站推荐给程序员好友。
内容备注
版权声明:本文内容由互联网用户自发贡献,该文观点与技术仅代表作者本人。本站仅提供信息存储空间服务,不拥有所有权,不承担相关法律责任。如发现本站有涉嫌侵权/违法违规的内容, 请发送邮件至 gblab@vip.qq.com 举报,一经查实,本站将立刻删除。
内容手机端
扫描二维码推送至手机访问。
来源:【匿名】