【Linux】通过Docker部署web项目(CentOS7版本以上)
内容导读
互联网集市收集整理的这篇技术教程文章主要介绍了【Linux】通过Docker部署web项目(CentOS7版本以上),小编现在分享给大家,供广大互联网技能从业者学习和参考。文章包含4960字,纯文字阅读大概需要8分钟。
内容图文
")
【Linux】通过Docker部署web项目(CentOS7版本以上)
今天教大家如何通过Docker部署WEB项目(适合docker小白学习,都是干货!!!)
一、 远程连接
我使用的远程连接工具是Xshell,个人感觉还是很好用的。
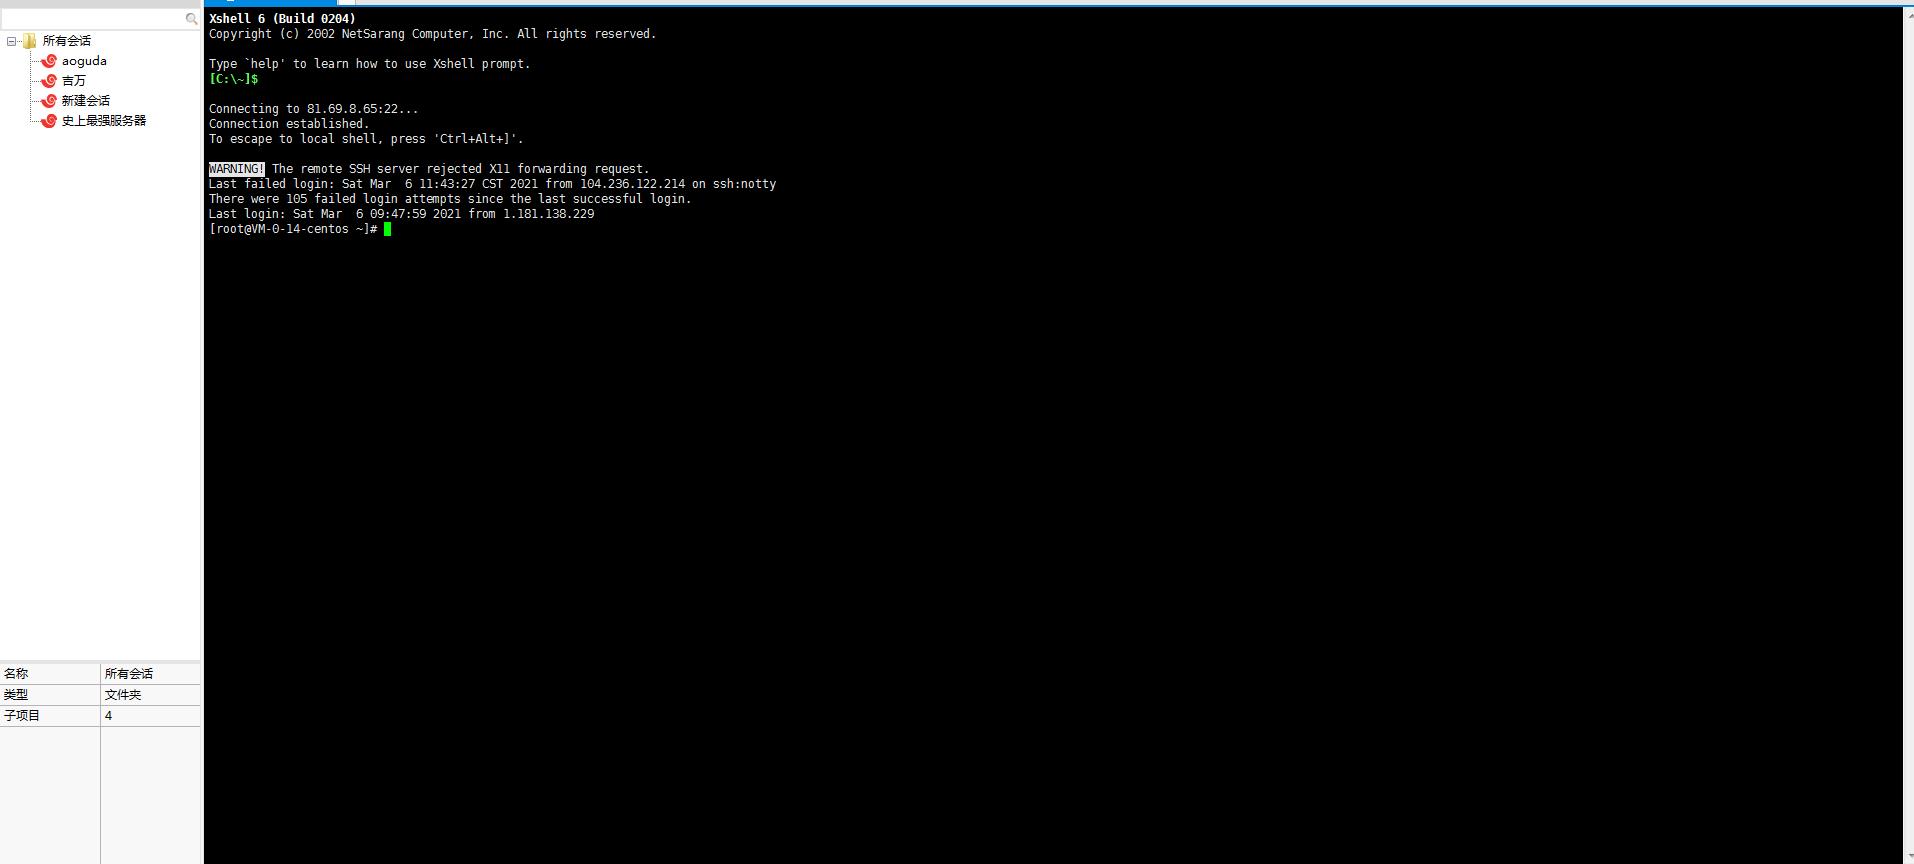
1.首先进入自己服务器。
二、安装docker
查看环境
# 系统的内核是3.10+
[root@iZhp3do4qhzu84445osa3sZ ~]# uname -r
3.10.0-1127.19.1.el7.x86_64
#系统版本
NAME="CentOS Linux"
VERSION="7 (Core)"
ID="centos"
ID_LIKE="rhel fedora"
VERSION_ID="7"
PRETTY_NAME="CentOS Linux 7 (Core)"
ANSI_COLOR="0;31"
CPE_NAME="cpe:/o:centos:centos:7"
HOME_URL="https://www.centos.org/"
BUG_REPORT_URL="https://bugs.centos.org/"

CENTOS_MANTISBT_PROJECT="CentOS-7"
CENTOS_MANTISBT_PROJECT_VERSION="7"
REDHAT_SUPPORT_PRODUCT="centos"
REDHAT_SUPPORT_PRODUCT_VERSION="7"
安装docker
# 1. 卸载旧的版本
yum remove docker \
docker-client \
docker-client-latest \
docker-common \
docker-latest \
docker-latest-logrotate \
docker-logrotate \
docker-engine
# 2. 需要的安装包
yum install -y yum-utils
# 3. 设置镜像的仓库
yum-config-manager \
--add-repo \
https://download.docker.com/linux/centos/docker-ce.repo # 默认是国外的 不推荐
yum-config-manager \
--add-repo \
https://mirrors.aliyun.com/docker-ce/linux/centos/docker-ce.repo # 阿里云镜像地址 推荐
# 4. 更新yum !!! 不然后面可能会报错
yum makecache fase
# 5. 安装Docker相关的内容(这里是最新版本,如果想安装其他版本版本参考官方文档) ce-社区版 ee-企业版
yum install docker-ce docker-ce-cli containerd.io
# 6. 启动docker
systemctl start docker
# 7. 使用docker version 查看docker是否启动成功
[root@iZhp3do4qhzu84445osa3sZ ~]# docker version
Client:
Version: 1.13.1
API version: 1.26
Package version: docker-1.13.1-109.gitcccb291.el7.centos.x86_64
Go version: go1.10.3
Git commit: cccb291/1.13.1
Built: Tue Mar 3 17:21:24 2020
OS/Arch: linux/amd64
Server:
Version: 1.13.1
API version: 1.26 (minimum version 1.12)
Package version: docker-1.13.1-109.gitcccb291.el7.centos.x86_64
Go version: go1.10.3
Git commit: cccb291/1.13.1
Built: Tue Mar 3 17:21:24 2020
OS/Arch: linux/amd64
Experimental: false
# 8. 测试 hello-world
[root@iZhp3do4qhzu84445osa3sZ ~]# docker run hello-world
Unable to find image 'hello-world:latest' locally # 没有寻找到hello-world镜像
Trying to pull repository docker.io/library/hello-world ... #尝试从远程仓库中寻找hello-world镜像
latest: Pulling from docker.io/library/hello-world #在远程仓库寻找到了该镜像,并且正在pull
0e03bdcc26d7: Pull complete
Digest: sha256:d58e752213a51785838f9eed2b7a498ffa1cb3aa7f946dda11af39286c3db9a9
Status: Downloaded newer image for docker.io/hello-world:latest
Hello from Docker! #运行成功显示 相当于Docker安装成功了
This message shows that your installation appears to be working correctly.
To generate this message, Docker took the following steps:
1. The Docker client contacted the Docker daemon.
2. The Docker daemon pulled the "hello-world" image from the Docker Hub.
(amd64)
3. The Docker daemon created a new container from that image which runs the
executable that produces the output you are currently reading.
4. The Docker daemon streamed that output to the Docker client, which sent it
to your terminal.
To try something more ambitious, you can run an Ubuntu container with:
$ docker run -it ubuntu bash
Share images, automate workflows, and more with a free Docker ID:
https://hub.docker.com/
For more examples and ideas, visit:
https://docs.docker.com/get-started/
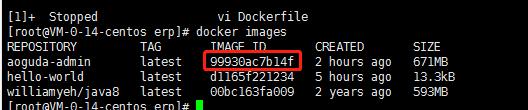
# 9. 通过docker images 查看存在的镜像
[root@VM-0-14-centos ~]# docker images
REPOSITORY TAG IMAGE ID CREATED SIZE
aoguda-admin latest 99930ac7b14f About an hour ago 671MB
hello-world latest d1165f221234 5 hours ago 13.3kB
williamyeh/java8 latest 00bc163fa009 2 years ago 593MB
三、上传jar包
1.创建一个目录
mkdir aoguda
2.进入创建好的目录
cd aoguda
3.将打的jar上传
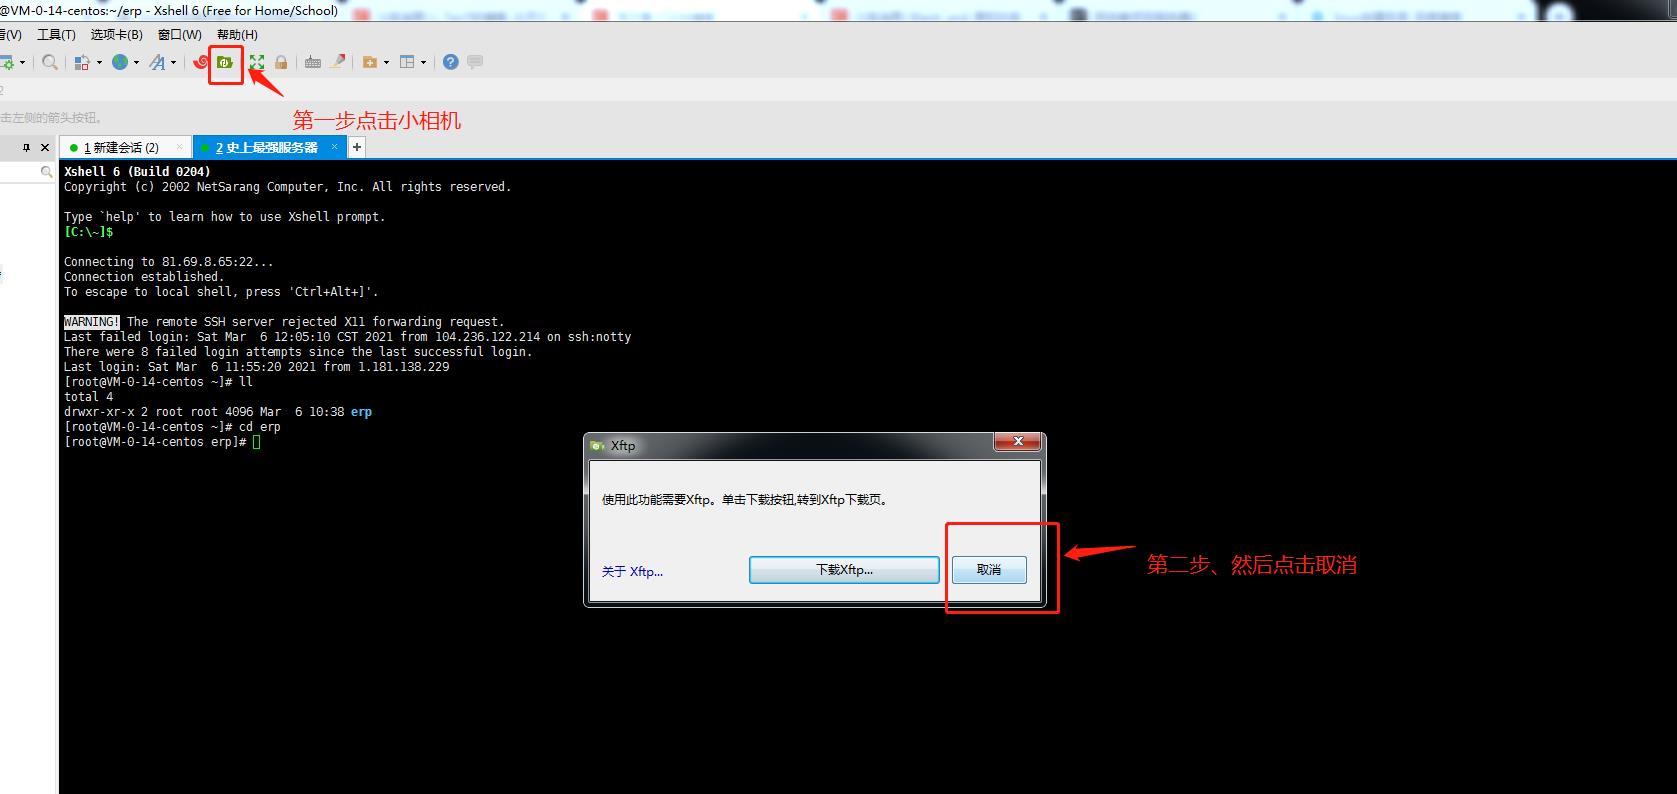
会在弹出一个命令窗口,将项目的jar包拖拽进去
4.制作dockerfile
返回前一个窗口,查看当前目录下的文件(之前上传的jar,是否已上传)
ll

在当前目录下创建个dockerfile文件
vi dockerfile
会创建个名为dockerfile 的文件夹并编辑(下面是编辑内容)
FROM  [dockerfile]/java8:latest
# 作者信息
MAINTAINER david "[你自己的邮箱]"
# 将本地文件tmp挂载到容器
VOLUME /tmp
# 拷贝jar
ADD [上传的jar包名称 要加.jar后缀的] /[上传的jar包名称 要加.jar后缀的]
# 设置暴露的端口号
EXPOSE [项目端口号]
EXPOSE [数据库端口号]
EXPOSE [redis端口号]
# 执行命令
ENTRYPOINT ["java","-jar","/[jar包名称 要加.jar后缀]"]
编辑完按下 ESC 输入:wq 保存并退出
四、制作镜像
制作dockerfile文件镜像(一定要加后面的点)
docker build -t dockerfile .
查看镜像
docker images
继续创建项目镜像
docker build -t [jar包名称,这回不需要加后缀] .
查看项目镜像是否创建
docker images
复制镜像id
五、启动容器
都创建成功后 启动项目镜像容器
docker run -d -p [容器端口]:[服务器端口] -p [mysql端口] -p [redis端口] --name [容器的名称] [镜像ID]
查看刚才启动的镜像 等待 10-30s 即可访问
docker ps -a
这些就是docker部署WEB服务器从开始下载Docker到部署WEB项目的过程,希望对您有所帮助。比较适合对Docker刚入门的小伙伴。
内容总结
以上是互联网集市为您收集整理的【Linux】通过Docker部署web项目(CentOS7版本以上)全部内容,希望文章能够帮你解决【Linux】通过Docker部署web项目(CentOS7版本以上)所遇到的程序开发问题。 如果觉得互联网集市技术教程内容还不错,欢迎将互联网集市网站推荐给程序员好友。
内容备注
版权声明:本文内容由互联网用户自发贡献,该文观点与技术仅代表作者本人。本站仅提供信息存储空间服务,不拥有所有权,不承担相关法律责任。如发现本站有涉嫌侵权/违法违规的内容, 请发送邮件至 gblab@vip.qq.com 举报,一经查实,本站将立刻删除。
内容手机端
扫描二维码推送至手机访问。