在Linux下安装weblogic 12.2.1.3.0的过程
内容导读
互联网集市收集整理的这篇技术教程文章主要介绍了在Linux下安装weblogic 12.2.1.3.0的过程,小编现在分享给大家,供广大互联网技能从业者学习和参考。文章包含5243字,纯文字阅读大概需要8分钟。
内容图文

-
Centos7下安装weblogic 12.2.1.3.0的过程
说明:
Weblogic12c安装包:fmw_12.2.1.3.0_wls_quick.jar
JDK:jdk1.8.0_172
部署服务器:172.16.4.120
系统版本:CentOS Linux release 7.4.1708 (Core)
创建用户
1、创建weblogic用户组
#groupadd weblogic
2、创建weblogic用户
#useradd -g weblogic weblogic
3、修改weblogic用户密码
#passwd weblogic ---techops2020
4、切换用户到weblogic
# su – weblogic
普通用户提权root
注意创建用户之后:保险起见还是通过新的weblogic用户去登录然后执行如下步骤!
安装前准备 – 安装JDK
- 准备JDK1.8: java 1.8 linux 64位版本 (/etc/profile)

- 验证Java 安装

安装前准备 – 创建必要的用户和组.
1. 创建weblogic组
[root@yxbj ~]# groupadd weblogic
2. 创建weblogic用户
[root@yxbj ~]# useradd -g weblogic weblogic
3. 为用户创建密码
[root@yxbj ~]# passwd weblogic
4. 切换到weblogic用户
[root@yxbj weblogic]# su - weblogic
安装前准备 – 安装weblogic
5.准备weblogic安装包
https://www.oracle.com/technetwork/middleware/weblogic/downloads/index.html
6. 拷贝weblogic安装包、JDK到/home/weblogic下
修改文件的权限
[root@yxbj ~]# chown -R weblogic:weblogic /home/weblogic/
7. 在/home/weblogic目录下文件wsl.rsp
[ENGINE]
#DO NOT CHANGE THIS.
Response File Version=1.0.0.0.0
[GENERIC]
#The oracle home location. This can be an existing Oracle Home or a new Oracle Home
ORACLE_HOME=/home/weblogic/oracle
#Set this variable value to the Installation Type selected. e.g. WebLogic Server, Coherence, Complete with Examples.
INSTALL_TYPE=WebLogic Server
#Provide the My Oracle Support Username. If you wish to ignore Oracle Configuration Manager configuration provide empty string for user name.
MYORACLESUPPORT_USERNAME=
#Provide the My Oracle Support Password
MYORACLESUPPORT_PASSWORD=<SECURE VALUE>
#Set this to true if you wish to decline the security updates. Setting this to true and providing empty string for My Oracle Support username will ignore the Oracle Configuration Manager configuration
DECLINE_SECURITY_UPDATES=true
#Set this to true if My Oracle Support Password is specified
SECURITY_UPDATES_VIA_MYORACLESUPPORT=false
#Provide the Proxy Host
PROXY_HOST=
#Provide the Proxy Port
PROXY_PORT=
#Provide the Proxy Username
PROXY_USER=
#Provide the Proxy Password
PROXY_PWD=<SECURE VALUE>
#Type String (URL format) Indicates the OCM Repeater URL which should be of the format [scheme[Http/Https]]://[repeater host]:[repeater port]
COLLECTOR_SUPPORTHUB_URL=
8. 在/home/weblogic目录下文件oraInst.loc
inventory_loc=/home/weblogic/oraInventory
inst_group=weblogic
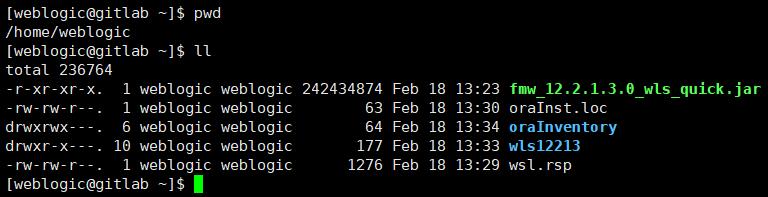
9. 执行安装操作 (此步骤要使用weblogic账号启动 su - weblogic)
[weblogic@yxbj ~]$ java -jar fmw_12.2.1.3.0_wls_quick.jar -silent -responseFile /home/weblogic/wsl.rsp -invPtrLoc /home/weblogic/oraInst.loc

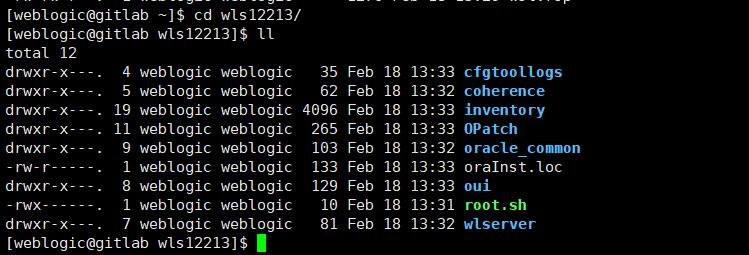
10. 安装存放的路径为:cd /home/weblogic
11. 新建域的目录
[weblogic@yxbj ~]$ mkdir -p /home/weblogic/wls12213/user_projects/domains/base_domain/

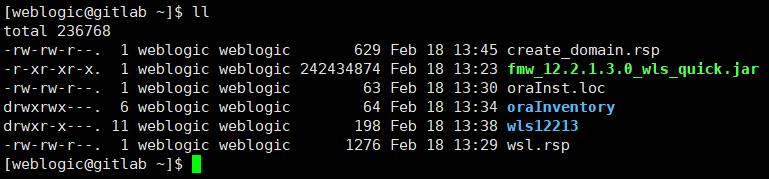
12. 在home/weblogic创建域脚本create_domain.rsp
read template from "/home/weblogic/wls12213/wlserver/common/templates/wls/wls.jar";
set JavaHome "/usr/java/jdk1.8.0_11";
set ServerStartMode "prod";
find Server "AdminServer" as AdminServer;
set AdminServer.ListenAddress "";
set AdminServer.ListenPort "7001";
set AdminServer.SSL.Enabled "true";
set AdminServer.SSL.ListenPort "7002";
//Create Machine
//create Machine "base" as Machinename;
//use templates default weblogic user
find User "weblogic" as u1;
set u1.password "weblogic";
write domain to "/home/weblogic/wls12213/user_projects/domains/base_domain/";
// The domain name will be "demo-domain"
close template;
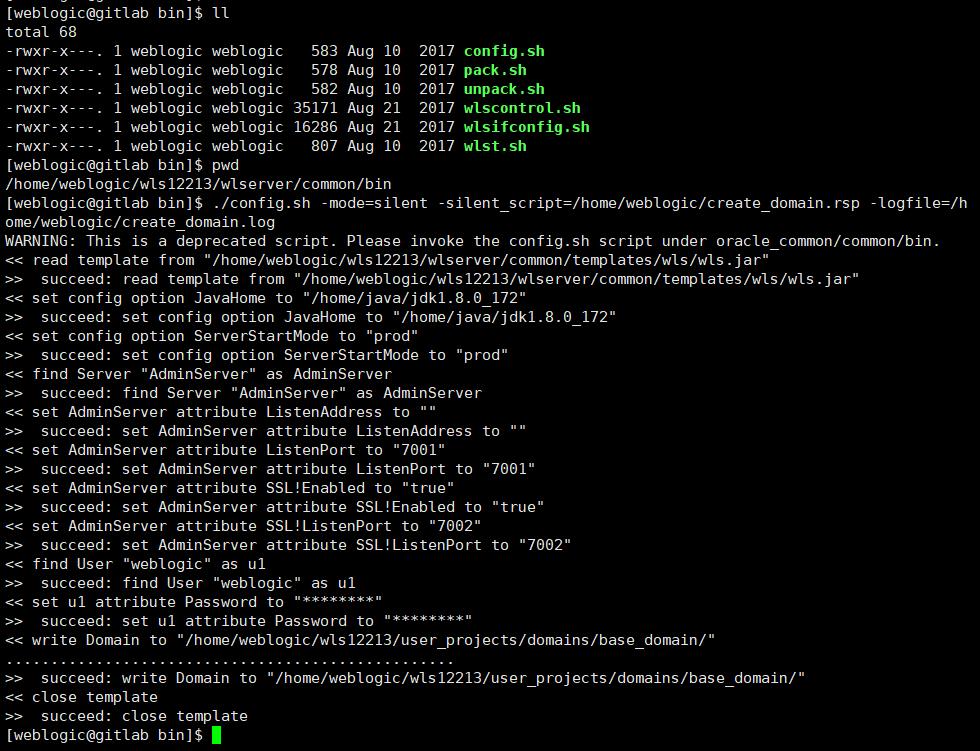
13. 切换到/home/weblogic/wls12213/wlserver/common/bin目录下
[weblogic@yxbj bin]$ cd /home/weblogic/wls12213/wlserver/common/bin
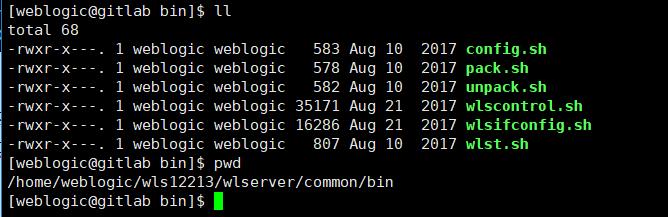
14. 执行创建域脚本
[weblogic@yxbj bin]$ ./config.sh -mode=silent -silent_script=/home/weblogic/create_domain.rsp -logfile=/home/weblogic/create_domain.log
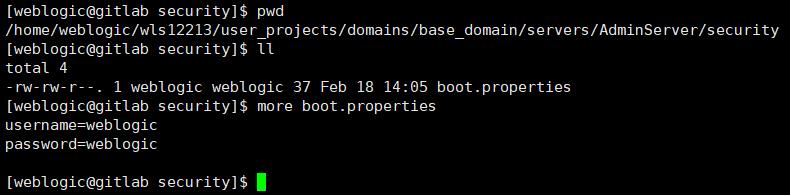
15. 切换到安全目录下新装控制台用户名和密码
[root@yxbj security]#
cd /home/weblogic/wls12213/user_projects/domains/base_domain/servers/AdminServer/
如果没有/servers/AdminServer/目录, 可以自动创建 mkdir -p /servers/AdminServer/
[root@yxbj AdminServer]# mkdir security
[root@yxbj AdminServer]# cd security/
[root@yxbj security]# vi boot.properties
username=weblogic
password= weblogic
16. 切换到域目录
[weblogic@yxbj bin]$ cd /home/weblogic/wls12213/user_projects/domains/base_domain/
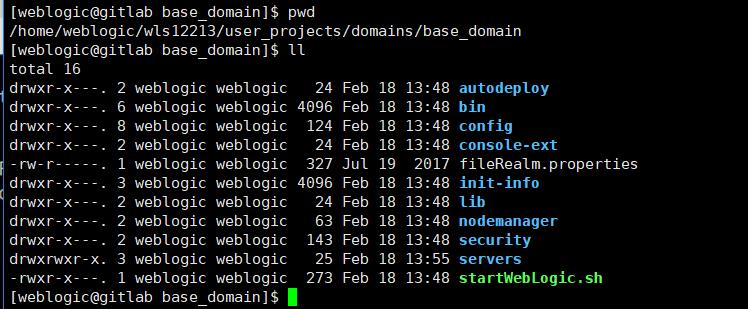
17. 启动脚本,进入控制台
[weblogic@yxbj base_domain]$ nohup ./startWebLogic.sh >out.log 2>&1 &
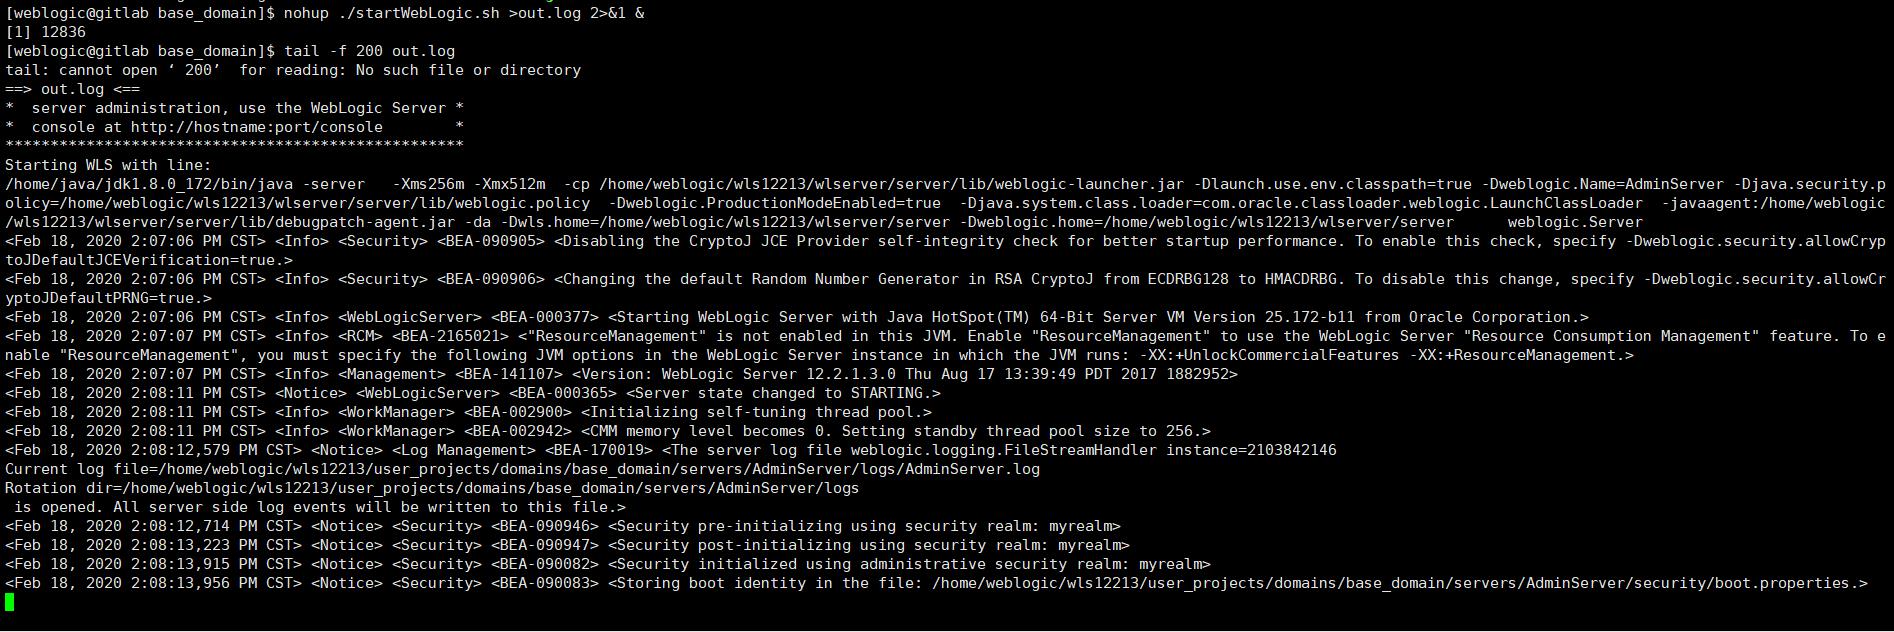
18. 验证端口 netstat –nltp |grep 7001
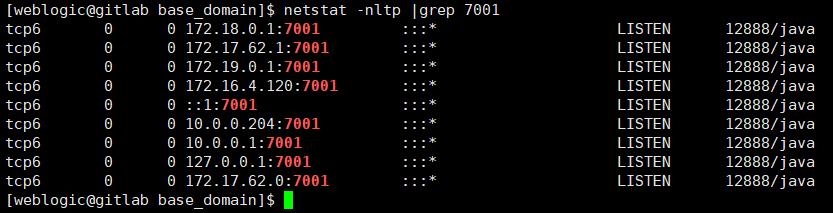
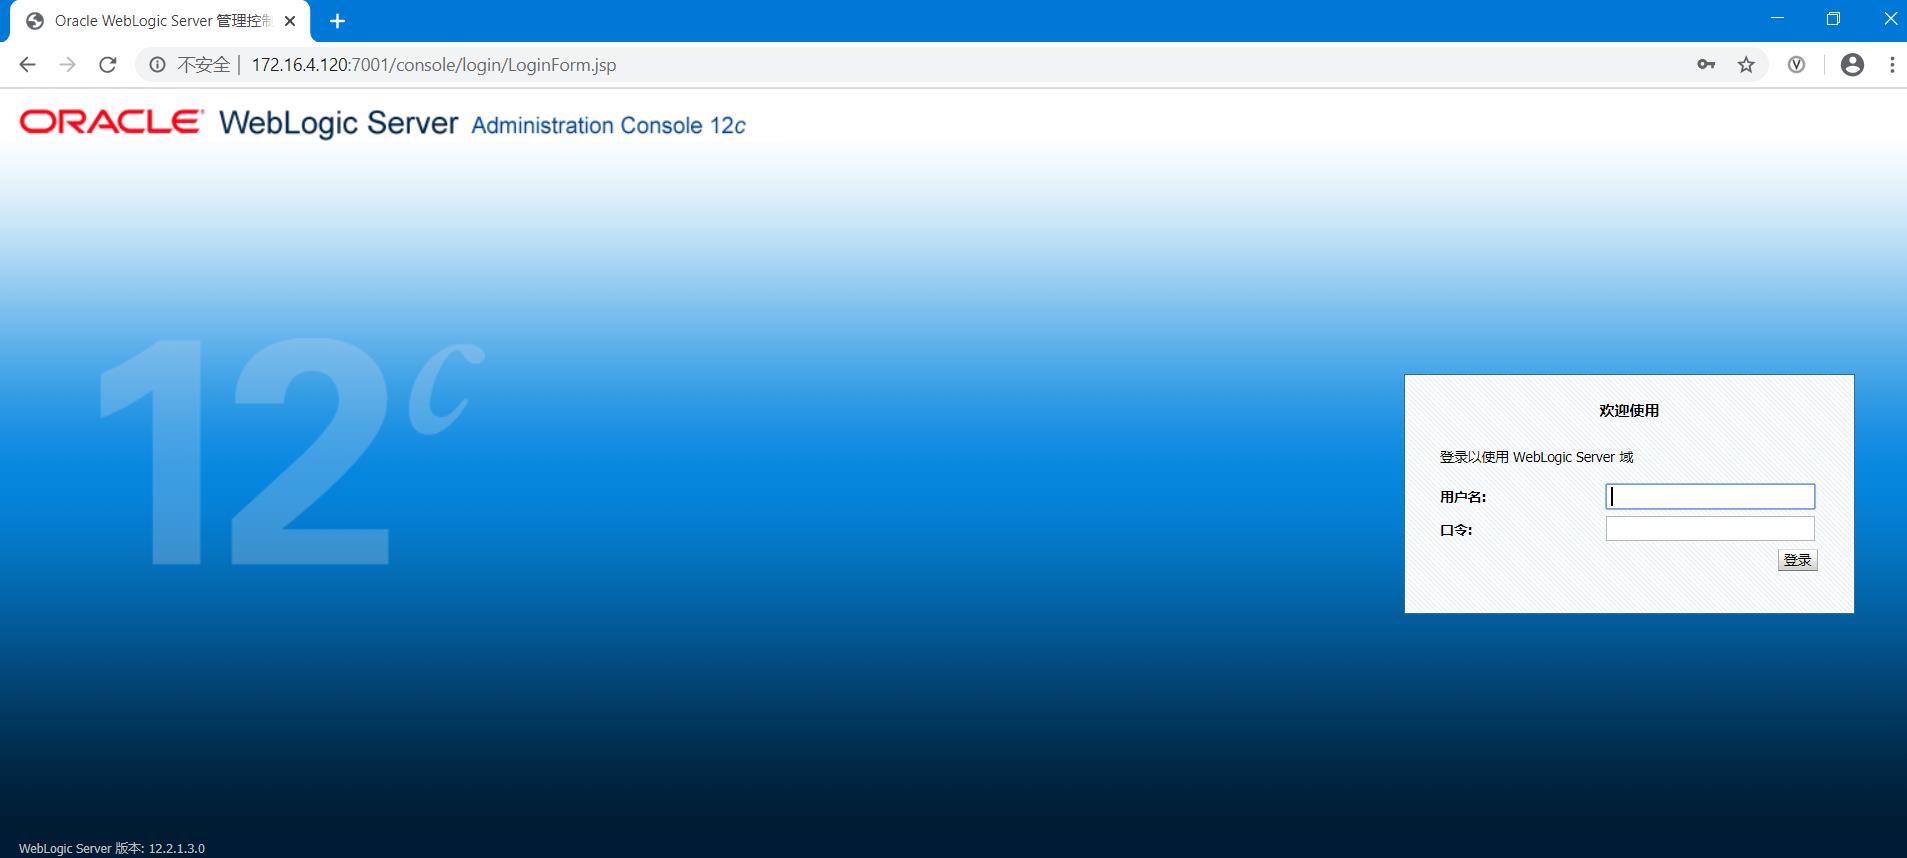
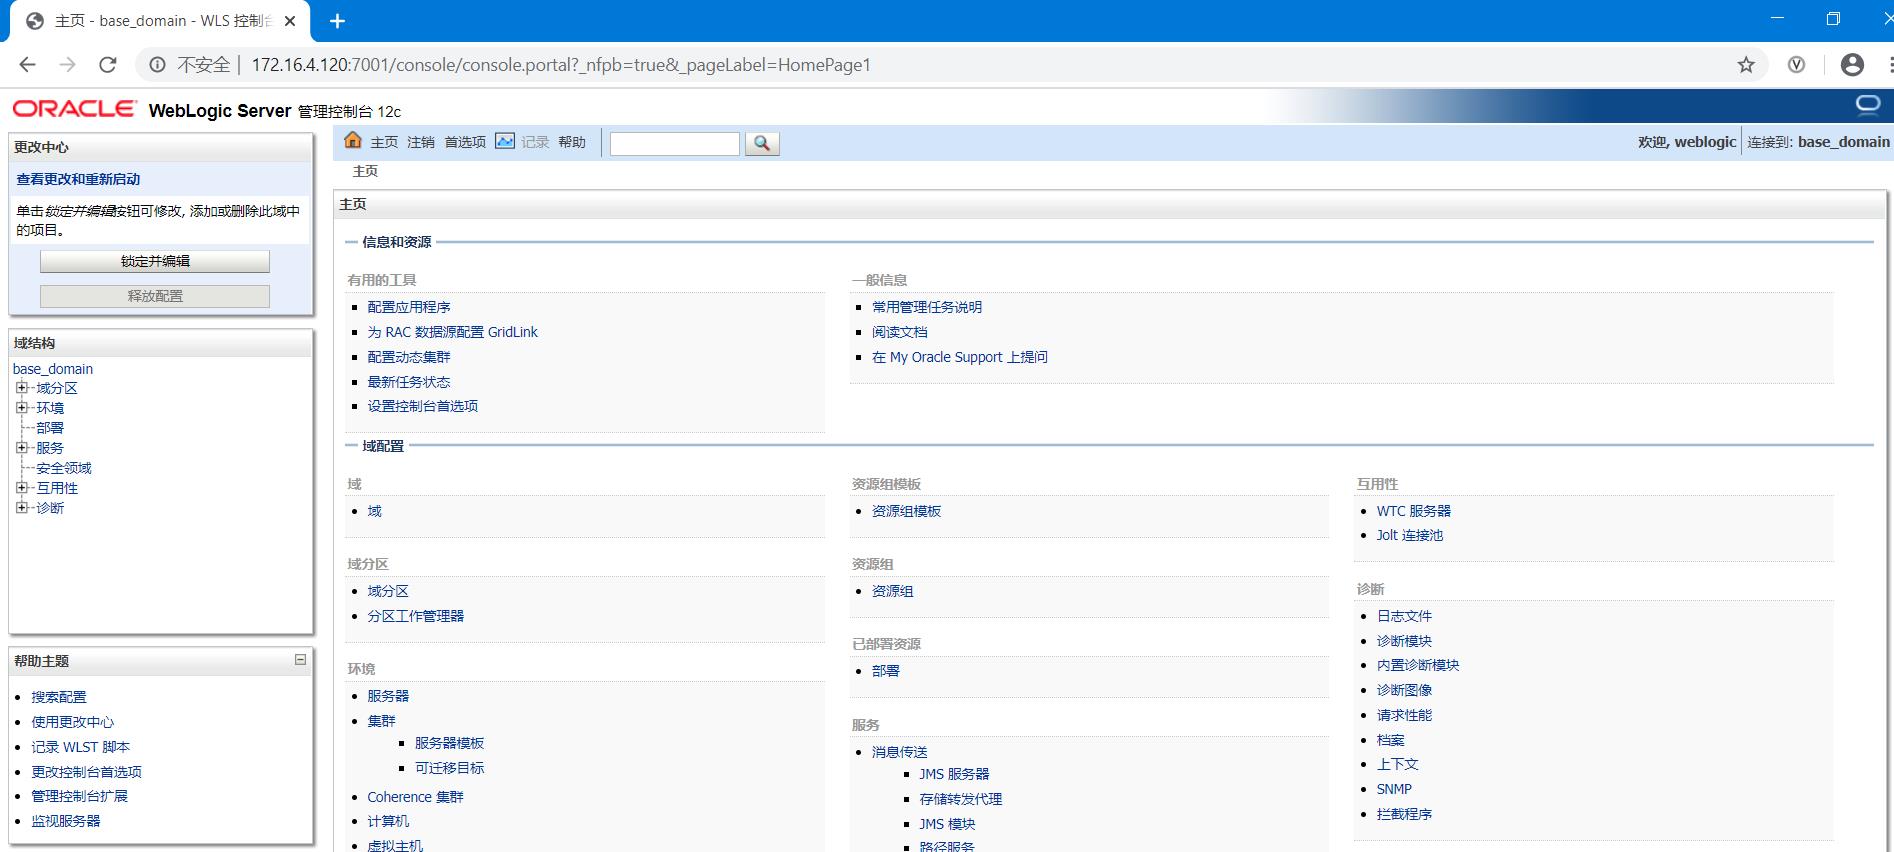
18. 在浏览器输入URL地址 http://172.16.4.120:7001/console/,输入在boot.properties文件中配置用户名和密码接口
启动关闭weblogic
进入目录:
#cd /home/weblogic/weblogic12c/oracle/user_projects/domains/base_domain/bin
启动(这个方式启动,关闭终端窗口weblogic也会关闭):
#./startWebLogic.sh
关闭:
#./stopWebLogic.sh
以后台方式启动(关闭终端窗口weblogic不会关闭):
# nohup ./startWebLogic.sh &
查看日志:
#tail -f /home/weblogic/weblogic12c/oracle/user_projects/domains/base_domain/servers/AdminServer /logs/AdminServer.log
放行7001端口:
#firewall-cmd --zone=public --add-port=7001/tcp --permanent
访问管理台:http://192.168.0.10:7001/console
网络笨猪 发布了25 篇原创文章 · 获赞 23 · 访问量 3万+ 私信 关注内容总结
以上是互联网集市为您收集整理的在Linux下安装weblogic 12.2.1.3.0的过程全部内容,希望文章能够帮你解决在Linux下安装weblogic 12.2.1.3.0的过程所遇到的程序开发问题。 如果觉得互联网集市技术教程内容还不错,欢迎将互联网集市网站推荐给程序员好友。
内容备注
版权声明:本文内容由互联网用户自发贡献,该文观点与技术仅代表作者本人。本站仅提供信息存储空间服务,不拥有所有权,不承担相关法律责任。如发现本站有涉嫌侵权/违法违规的内容, 请发送邮件至 gblab@vip.qq.com 举报,一经查实,本站将立刻删除。
内容手机端
扫描二维码推送至手机访问。