首页 / NGINX / 普通用户启动nginx
普通用户启动nginx
内容导读
互联网集市收集整理的这篇技术教程文章主要介绍了普通用户启动nginx,小编现在分享给大家,供广大互联网技能从业者学习和参考。文章包含2835字,纯文字阅读大概需要5分钟。
内容图文

nginx在Linux环境中的安全运行(普通用户启动,达到权限的最小化运行)
由于1024以下的端口只对超级用户开放,所以普通用户启动nginx需要设置端口在1024以上。
因此nginx要运行在80端口上需要配置防火墙端口转发规则,nginx运行环境linux centos7.x
一,添加普通用户 nginx 组module
groupadd module
useradd nginx -g module
二,修改nginx程序所属对象
#查看nginx安装位置
[root@hadoop01 ~]# find / -name nginx
/var/db/sudo/lectured/nginx
/var/spool/mail/nginx
/usr/local/nginx					#nginx安装位置
/usr/local/nginx/sbin/nginx
/home/nginx						#nginx用户(自己创建的)
/opt/tmpdir/nginx-1.8.1/objs/nginx
更改/usr/local/nginx 的所属对象和组
chown -R nginx:module /usr/local/nginx
#[root@hadoop01 ~]# ll /usr/local/nginx/
total 4
drwx------. 2 nginx module    6 Apr 21 00:11 client_body_temp
drwxr-xr-x. 2 nginx module 4096 Apr 21 03:05 conf
drwx------. 2 nginx module    6 Apr 21 00:11 fastcgi_temp
drwxr-xr-x. 2 nginx module   40 Apr 21 00:08 html
drwxr-xr-x. 2 nginx module   58 Apr 21 03:06 logs
drwx------. 2 nginx module    6 Apr 21 00:11 proxy_temp
drwxr-xr-x. 2 nginx module   19 Apr 21 00:08 sbin
drwx------. 2 nginx module    6 Apr 21 00:11 scgi_temp
drwx------. 2 nginx module    6 Apr 21 00:11 uwsgi_temp
在nginx用户的家目录下创建nginx工作目录
mkdir -p /home/nginx/data /home/nginx/run /home/nginx/log
[nginx@hadoop01 ~]$ pwd
/home/nginx
[nginx@hadoop01 ~]$ ll
total 0
drwxr-xr-x. 2 nginx module 6 Jul 25 02:58 data
drwxr-xr-x. 2 nginx module 6 Jul 25 02:58 log
drwxr-xr-x. 2 nginx module 6 Jul 25 02:58 run
修改nginx配置文件,所有涉及到文件访问的,nginx用户必须有rwx权限
vim /usr/local/nginx/conf/nginx.conf
nginx.conf文件内容
user  nginx;
worker_processes  1;

error_log  /home/nginx/log/error.log;        #日志存放位置
#error_log  logs/error.log  notice;
#error_log  logs/error.log  info;

pid        /home/nginx/run/nginx.pid;        #进程号文件存放位置


events {
    use epoll;
    worker_connections  1024;
}

http {
    include       mime.types;
    default_type  application/octet-stream;

    #log_format  main  '$remote_addr - $remote_user [$time_local] "$request" '
    #                  '$status $body_bytes_sent "$http_referer" '
    #                  '"$http_user_agent" "$http_x_forwarded_for"';

    #access_log  logs/access.log  main;

    sendfile        on;
    #tcp_nopush     on;

    #keepalive_timeout  0;
    keepalive_timeout  65;

    #gzip  on;

    server {
        listen       8080;            #非超级用户不可以监听1024以下端口
        server_name  hadoop01;

        #charset koi8-r;

        #access_log  logs/host.access.log  main;

        location / {
            root   html;
            index  index.html index.htm;
        }
    }
}
三,设置端口转发规则
# 将80端口的流量转发至8080
firewall-cmd --add-forward-port=port=80:proto=tcp:toport=8080 --permanent
firewall-cmd --reload
四,切换到nginx用户启动nginx
su - nginx
/usr/local/nginx/sbin/nginx -c /usr/local/nginx/conf/nginx.conf
查看nginx进程

五,测试
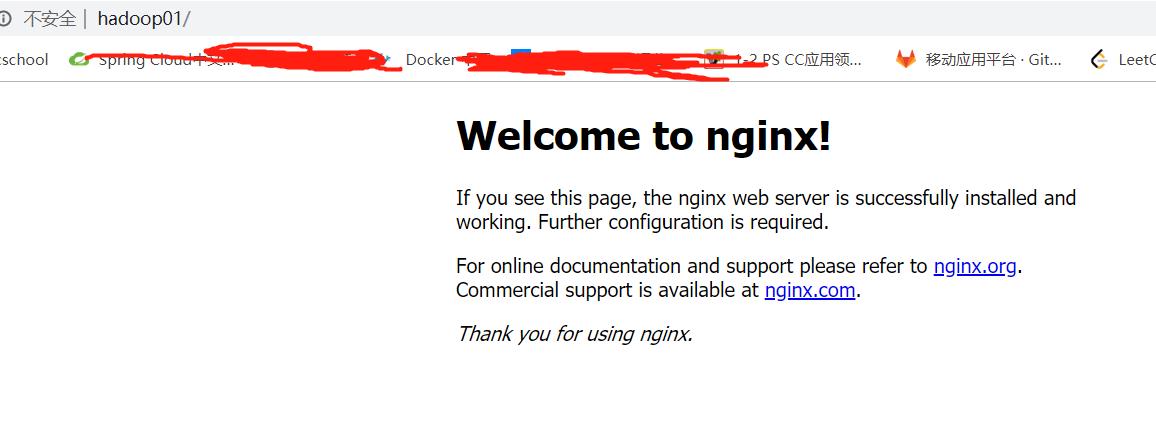
六,注意
域名访问需要在windows本地hosts文件中配置
C:\Windows\System32\drivers\etc\hosts 中添加 192.168.86.131 hadoop01
内容总结
以上是互联网集市为您收集整理的普通用户启动nginx全部内容,希望文章能够帮你解决普通用户启动nginx所遇到的程序开发问题。 如果觉得互联网集市技术教程内容还不错,欢迎将互联网集市网站推荐给程序员好友。
内容备注
版权声明:本文内容由互联网用户自发贡献,该文观点与技术仅代表作者本人。本站仅提供信息存储空间服务,不拥有所有权,不承担相关法律责任。如发现本站有涉嫌侵权/违法违规的内容, 请发送邮件至 gblab@vip.qq.com 举报,一经查实,本站将立刻删除。
内容手机端
扫描二维码推送至手机访问。