【Cocos2d入门教程三】HelloWorld之一目了然
内容导读
互联网集市收集整理的这篇技术教程文章主要介绍了【Cocos2d入门教程三】HelloWorld之一目了然,小编现在分享给大家,供广大互联网技能从业者学习和参考。文章包含4884字,纯文字阅读大概需要7分钟。
内容图文

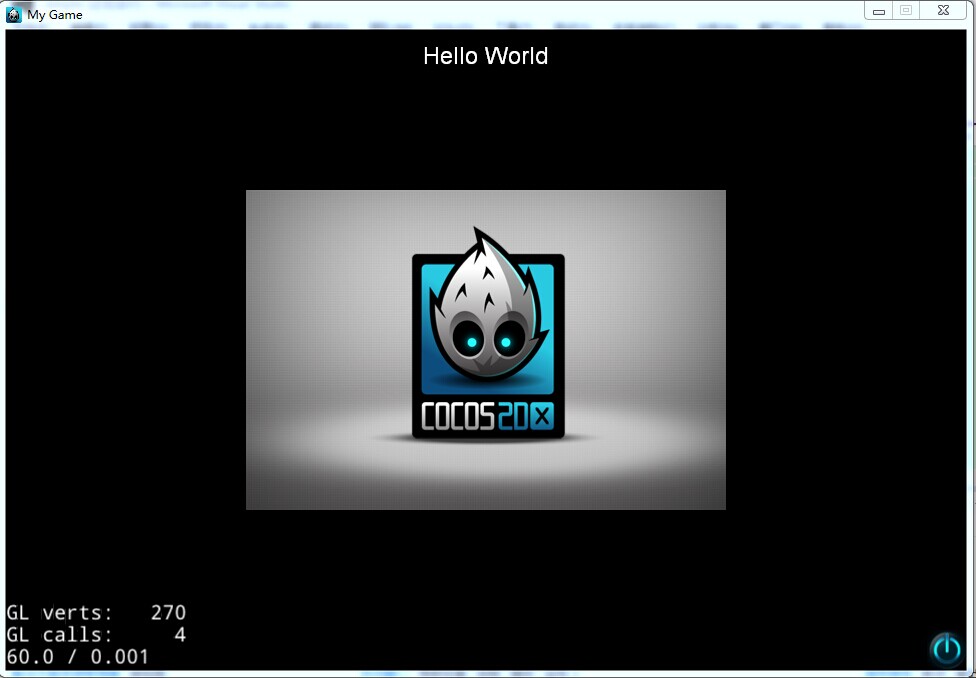
什么程序都是从HelloWorld先开始。同样Cocos2d-x我们先从HelloWorld进行下手、下面是HelloWorld的运行完成图:
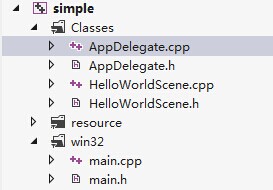
建立好的Cocos游戏项目中会有两个比较常用接触的文件夹。分别为Classes与resource。Classes存取代码文件,resource存取资源文件,下面为完整的项目架构:
我们先来看下最基本的AppDelegate.cpp类
              1 #include "AppDelegate.h"  2 #include "HelloWorldScene.h"  3  4  5//命名空间  6USING_NS_CC;
  7  8  9//构造函数 10AppDelegate::AppDelegate() {
 11 12}
 13 14 15//析构函数 16 AppDelegate::~AppDelegate()
 17{
 18}
 19 20 21//程序启动完成后会进入的函数   22bool AppDelegate::applicationDidFinishLaunching() {
 23 24//初始化导演 25     auto director = Director::getInstance();
 26 27//获得OpenGL视图 28     auto glview = director->getOpenGLView();
 29 30//如果没有获取OpenGL视图 31if(!glview)
 32    {
 33//创建OpenGL视图 34         glview = GLView::create("My Game");
 35 36//设置OpenGL视图 37         director->setOpenGLView(glview);
 38    }
 39 40//设置是否显示调试信息 41     director->setDisplayStats(true);
 42 43//设置帧率 44     director->setAnimationInterval(1.0 / 60);
 45 46//调用场景 47     auto scene = HelloWorld::createScene();
 48 49//执行场景 50     director->runWithScene(scene);
 51 52returntrue;
 53}
 54 55 56//当程序进入后台后调用的函数(当在玩游戏时忽然别人打来电话时,程序进入后台)   57void AppDelegate::applicationDidEnterBackground() {
 58 59//停止播放动画 60     Director::getInstance()->stopAnimation();
 61 62//暂停播放背景音乐
 63//SimpleAudioEngine::getInstance()->pauseBackgroundMusic(); 64}
 65 66 67//当程序重新被激活的时候调用的函数(声音重新响起)   68void AppDelegate::applicationWillEnterForeground() {
 69 70//播放动画 71     Director::getInstance()->startAnimation();
 72 73//继续播放背景音乐
 74//SimpleAudioEngine::getInstance()->resumeBackgroundMusic(); 75}
 76 77 78HelloWorld.h文件
 79 80#ifndef __HELLOWORLD_SCENE_H__
 81#define __HELLOWORLD_SCENE_H__
 82 83 #include "cocos2d.h" 84 85//HelloWorld类继承自Layer类 86class HelloWorld : public cocos2d::Layer
 87{
 88public:
 89//创建场景 90static cocos2d::Scene* createScene();
 91 92//初始化层 93virtualbool init();
 94 95//菜单响应函数 96void menuCloseCallback(cocos2d::Ref* pSender);
 97 98//用于创建:场景、菜单、层等东西   99    CREATE_FUNC(HelloWorld);
100};
101102#endif
1、创建场景
2、创建层
3、将层加到场景上
4、返回场景
HelloWorld.cpp
                 1 #include "HelloWorldScene.h" 2 3//命名空间 4USING_NS_CC;
 5 6//创建场景 7 Scene* HelloWorld::createScene()
 8{
 9//创建场景10     auto scene = Scene::create();
1112//创建层13     auto layer = HelloWorld::create();
1415//将层添加到场景中16     scene->addChild(layer);
1718//返回场景19return scene;
20}
2122//初始化层23bool HelloWorld::init()
24{
25//初始化父类的Layer26if(!Layer::init())
27    {
28returnfalse;
29    }
3031//获得窗口的大小32     Size visibleSize = Director::getInstance()->getVisibleSize();
3334//获得坐标原点的坐标35     Vec2 origin = Director::getInstance()->getVisibleOrigin();
3637//用图片创建菜单项
38//第一个参数:正常状态下的图片
39//第二个参数:被选中时的图片
40//第三个参数:响应函数  41     auto closeItem = MenuItemImage::create(
42"CloseNormal.png",
43"CloseSelected.png",
44                                            CC_CALLBACK_1(HelloWorld::menuCloseCallback, this));
4546//设置菜单项的位置47     closeItem->setPosition(Vec2(origin.x + visibleSize.width - closeItem->getContentSize().width/2 ,
48                                 origin.y + closeItem->getContentSize().height/2));
4950//创建菜单51     auto menu = Menu::create(closeItem, NULL);
5253//设置菜单的坐标原点为左下角(菜单中默认的坐标原点在窗口的中央)  54     menu->setPosition(Vec2::ZERO);
5556//将菜单项添加到菜单中57this->addChild(menu, 1);
5859//创建一个标签
60//第一个参数:标签中的内容
61//第二个参数:字体
62//第三个参数:字体大小  63     auto label = LabelTTF::create("Hello World", "Arial", 24);
6465//设置标签的位置66     label->setPosition(Vec2(origin.x + visibleSize.width/2,
67                             origin.y + visibleSize.height - label->getContentSize().height));
6869//设置标签的位置70this->addChild(label, 1);
7172//创建一个精灵73     auto sprite = Sprite::create("HelloWorld.png");
7475//设置精灵的位置76     sprite->setPosition(Vec2(visibleSize.width/2 + origin.x, visibleSize.height/2 + origin.y));
7778//将精灵添加到层中79this->addChild(sprite, 0);
8081returntrue;
82}
8384//菜单响应函数85void HelloWorld::menuCloseCallback(Ref* pSender)
86{
87#if (CC_TARGET_PLATFORM == CC_PLATFORM_WP8) || (CC_TARGET_PLATFORM == CC_PLATFORM_WINRT)
88     MessageBox("You pressed the close button. Windows Store Apps do not implement a close button.","Alert");
89return;
90#endif9192//结束场景93     Director::getInstance()->end();
9495#if (CC_TARGET_PLATFORM == CC_PLATFORM_IOS)
96     exit(0);
97#endif98 }
HelloWorldScene.cpp中的 HelloWorld::init(),实现了初始化:
1、初始化父类的Layer
2、得到窗口的大小
3、得到窗口的坐标
4、创建菜单项
5、设置菜单项的位置
6、设置菜单的位置
7、将菜单加到层中
8、创建标签
9、设置标签的位置
10、将标签加到层上
11、创建精灵
12、设置精灵的位置
13、将精灵加到层上
                 1 #include "main.h" 2 #include "AppDelegate.h" 3 #include "cocos2d.h" 4 5//命名空间 6USING_NS_CC;
 7 8//Cocos2d-X的主函数(相当于C/C++中的main函数)   9int APIENTRY _tWinMain(HINSTANCE hInstance,
10                       HINSTANCE hPrevInstance,
11                       LPTSTR    lpCmdLine,
12int       nCmdShow)
13{
14//表示lpCmdLine、nCmdShow是两个没用的参数  15    UNREFERENCED_PARAMETER(hPrevInstance);
16    UNREFERENCED_PARAMETER(lpCmdLine);
1718//定义一个app对象  19    AppDelegate app;
2021//执行app对象的run函数。进入帧循环  22return Application::getInstance()->run();
23 }
main.cpp中的代码只是实现了下面的操作
定义一个App对象->执行App对象进入帧循环
一个游戏程序就这样执行起来,应运而生,是不是感觉特别的神奇。ok关于helloworld的解析就分享至此。下一章进入菜单篇的学习
原文:http://www.cnblogs.com/advances/p/4716089.html
内容总结
以上是互联网集市为您收集整理的【Cocos2d入门教程三】HelloWorld之一目了然全部内容,希望文章能够帮你解决【Cocos2d入门教程三】HelloWorld之一目了然所遇到的程序开发问题。 如果觉得互联网集市技术教程内容还不错,欢迎将互联网集市网站推荐给程序员好友。
内容备注
版权声明:本文内容由互联网用户自发贡献,该文观点与技术仅代表作者本人。本站仅提供信息存储空间服务,不拥有所有权,不承担相关法律责任。如发现本站有涉嫌侵权/违法违规的内容, 请发送邮件至 gblab@vip.qq.com 举报,一经查实,本站将立刻删除。
内容手机端
扫描二维码推送至手机访问。