Tutorial: Implementation of Siamese Network on Caffe, Torch, Tensorflow
内容导读
互联网集市收集整理的这篇技术教程文章主要介绍了Tutorial: Implementation of Siamese Network on Caffe, Torch, Tensorflow,小编现在分享给大家,供广大互联网技能从业者学习和参考。文章包含6960字,纯文字阅读大概需要10分钟。
内容图文

Tutorial: Implementation of Siamese Network on Caffe, Torch, Tensorflow
1. caffe version:
If you want to try this network, just do as the offical document said, like the following codes:

1 ---
2title: Siamese Network Tutorial
3description: Train and test a siamese network on MNIST data.
4category: example
5 include_in_docs: true 6 layout: default 7 priority: 100 8 ---
9 10# Siamese Network Training with Caffe
11This example shows how you can use weight sharing and a contrastive loss
12 function to learn a model using a siamese network in Caffe.
13 14We will assume that you have caffe successfully compiled. If not, please refer
15 to the [Installation page](../../installation.html). This example builds on the
16[MNIST tutorial](mnist.html) so it would be a good idea to read that before
17continuing.
18 19 *The guide specifies all paths and assumes all commands are executed from the
20 root caffe directory*
21 22## Prepare Datasets
23 24 You will first need to download and convert the data from the MNIST
25 website. To dothis, simply run the following commands:
26 27 ./data/mnist/get_mnist.sh
28 ./examples/siamese/create_mnist_siamese.sh
29 30After running the script there should be two datasets,
31 `./examples/siamese/mnist_siamese_train_leveldb`, and
32 `./examples/siamese/mnist_siamese_test_leveldb`.
33 34## The Model
35 First, we will define the model that we want to train using the siamese network.
36 We will use the convolutional net defined in 37 `./examples/siamese/mnist_siamese.prototxt`. This model is almost
38 exactly the same as the [LeNet model](mnist.html), the only difference is that
39 we have replaced the top layers that produced probabilities over the 10 digit
40 classes with a linear "feature" layer that produces a 2 dimensional vector.
41 42 layer {
43 name: "feat" 44 type: "InnerProduct" 45 bottom: "ip2" 46 top: "feat" 47 param {
48 name: "feat_w" 49 lr_mult: 1 50 }
51 param {
52 name: "feat_b" 53 lr_mult: 2 54 }
55 inner_product_param {
56 num_output: 2 57 }
58 }
59 60## Define the Siamese Network
61 62 In this section we will define the siamese network used for training. The
63 resulting network is defined in 64 `./examples/siamese/mnist_siamese_train_test.prototxt`.
65 66 ### Reading in the Pair Data
67 68 We start with a data layer that reads from the LevelDB database we created
69 earlier. Each entry inthis database contains the image data for a pair of
70 images (`pair_data`) and a binary label saying if they belong to the same class 71or different classes (`sim`).
72 73 layer {
74 name: "pair_data" 75 type: "Data" 76 top: "pair_data" 77 top: "sim" 78 include { phase: TRAIN }
79 transform_param {
80 scale: 0.00390625 81 }
82 data_param {
83 source: "examples/siamese/mnist_siamese_train_leveldb" 84 batch_size: 64 85 }
86 }
87 88 In order to pack a pair of images into the same blob in the database we pack one
89image per channel. We want to be able to work with these two images separately,
90so we add a slice layer after the data layer. This takes the `pair_data` and
91 slices it along the channel dimension so that we have a single image in `data`
92 and its paired image in `data_p.`
93 94 layer {
95 name: "slice_pair" 96 type: "Slice" 97 bottom: "pair_data" 98 top: "data" 99 top: "data_p"100 slice_param {
101 slice_dim: 1102 slice_point: 1103 }
104 }
105106### Building the First Side of the Siamese Net
107108Now we can specify the first side of the siamese net. This side operates on
109 `data` and produces `feat`. Starting from the net in110 `./examples/siamese/mnist_siamese.prototxt` we add default weight fillers. Then
111we name the parameters of the convolutional and inner product layers. Naming the
112parameters allows Caffe to share the parameters between layers on both sides of
113 the siamese net. In the definition this looks like:
114115 ...
116 param { name: "conv1_w" ... }
117 param { name: "conv1_b" ... }
118 ...
119 param { name: "conv2_w" ... }
120 param { name: "conv2_b" ... }
121 ...
122 param { name: "ip1_w" ... }
123 param { name: "ip1_b" ... }
124 ...
125 param { name: "ip2_w" ... }
126 param { name: "ip2_b" ... }
127 ...
128129### Building the Second Side of the Siamese Net
130131Now we need to create the second path that operates on `data_p` and produces
132 `feat_p`. This path is exactly the same as the first. So we can just copy and
133paste it. Then we change the name of each layer, input, and output by appending
134 `_p` to differentiate the "paired" layers from the originals.
135136### Adding the Contrastive Loss Function
137138 To train the network we will optimize a contrastive loss function proposed in:
139 Raia Hadsell, Sumit Chopra, and Yann LeCun "Dimensionality Reduction by Learning140 an Invariant Mapping". This loss function encourages matching pairs to be close141 together in feature space while pushing non-matching pairs apart. This cost
142 function is implemented with the `CONTRASTIVE_LOSS` layer:
143144 layer {
145 name: "loss"146 type: "ContrastiveLoss"147 contrastive_loss_param {
148 margin: 1.0149 }
150 bottom: "feat"151 bottom: "feat_p"152 bottom: "sim"153 top: "loss"154 }
155156## Define the Solver
157158Nothing special needs to be done to the solver besides pointing it at the
159 correct model file. The solver is defined in160 `./examples/siamese/mnist_siamese_solver.prototxt`.
161162## Training and Testing the Model
163164 Training the model is simple after you have written the network definition
165protobuf and solver protobuf files. Simply run
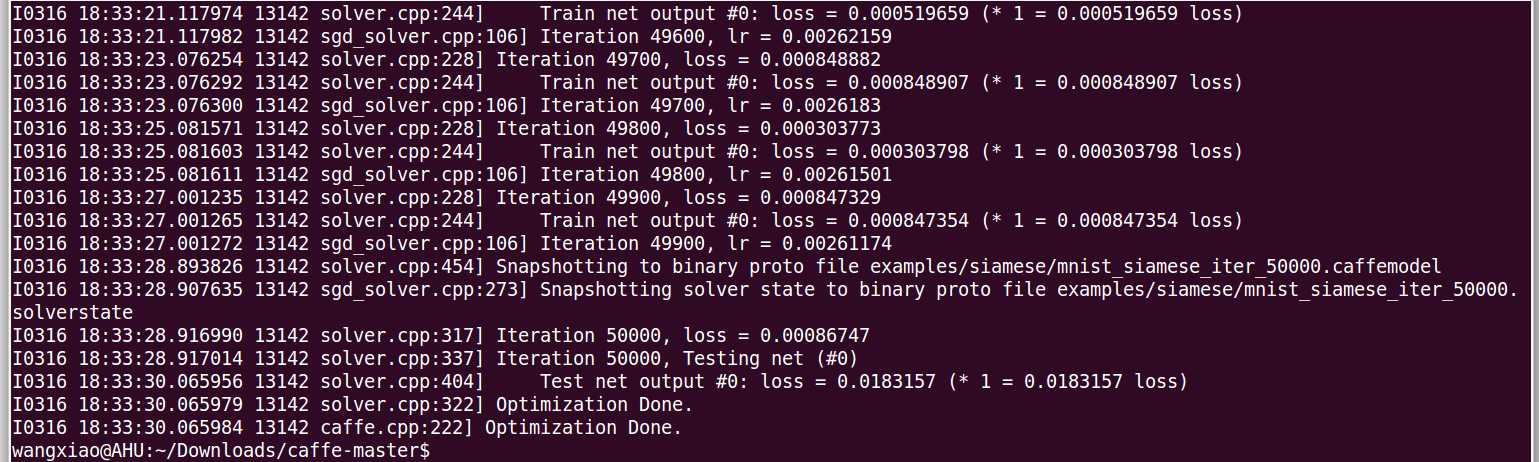
166 `./examples/siamese/train_mnist_siamese.sh`:
167168 ./examples/siamese/train_mnist_siamese.sh
169170# Plotting the results
171172First, we can draw the model and siamese networks by running the following
173 commands that draw the DAGs defined in the .prototxt files:
174175 ./python/draw_net.py 176 ./examples/siamese/mnist_siamese.prototxt 177 ./examples/siamese/mnist_siamese.png
178179 ./python/draw_net.py 180 ./examples/siamese/mnist_siamese_train_test.prototxt 181 ./examples/siamese/mnist_siamese_train_test.png
182183 Second, we can load the learned model and plot the features using the iPython
184notebook:
185186 ipython notebook ./examples/siamese/mnist_siamese.ipynb

If you want to shown the neural network in a image. first, you should install the following softwares:
1. sudo apt-get install graphviz
2. sudo pip install pydot2
then, you can draw the following graph using tool provided by python files.

If you want to know how to implement this on your own data. You should:
1. Preparing your data:
==>> positive and negative image pairs and corresponding label (1 and -1).
2. Convert the files into lmdb files
3. then just do as above mentioned.
==>> But I am still feel confused about how to deal with this whole process.
Will fill with this part later.
2. Torch version:
原文:http://www.cnblogs.com/wangxiaocvpr/p/6561093.html
内容总结
以上是互联网集市为您收集整理的Tutorial: Implementation of Siamese Network on Caffe, Torch, Tensorflow全部内容,希望文章能够帮你解决Tutorial: Implementation of Siamese Network on Caffe, Torch, Tensorflow所遇到的程序开发问题。 如果觉得互联网集市技术教程内容还不错,欢迎将互联网集市网站推荐给程序员好友。
内容备注
版权声明:本文内容由互联网用户自发贡献,该文观点与技术仅代表作者本人。本站仅提供信息存储空间服务,不拥有所有权,不承担相关法律责任。如发现本站有涉嫌侵权/违法违规的内容, 请发送邮件至 gblab@vip.qq.com 举报,一经查实,本站将立刻删除。
内容手机端
扫描二维码推送至手机访问。